Moved to the airport, put the wings on, buttoned everything up, and got an Airworthiness Certificate!

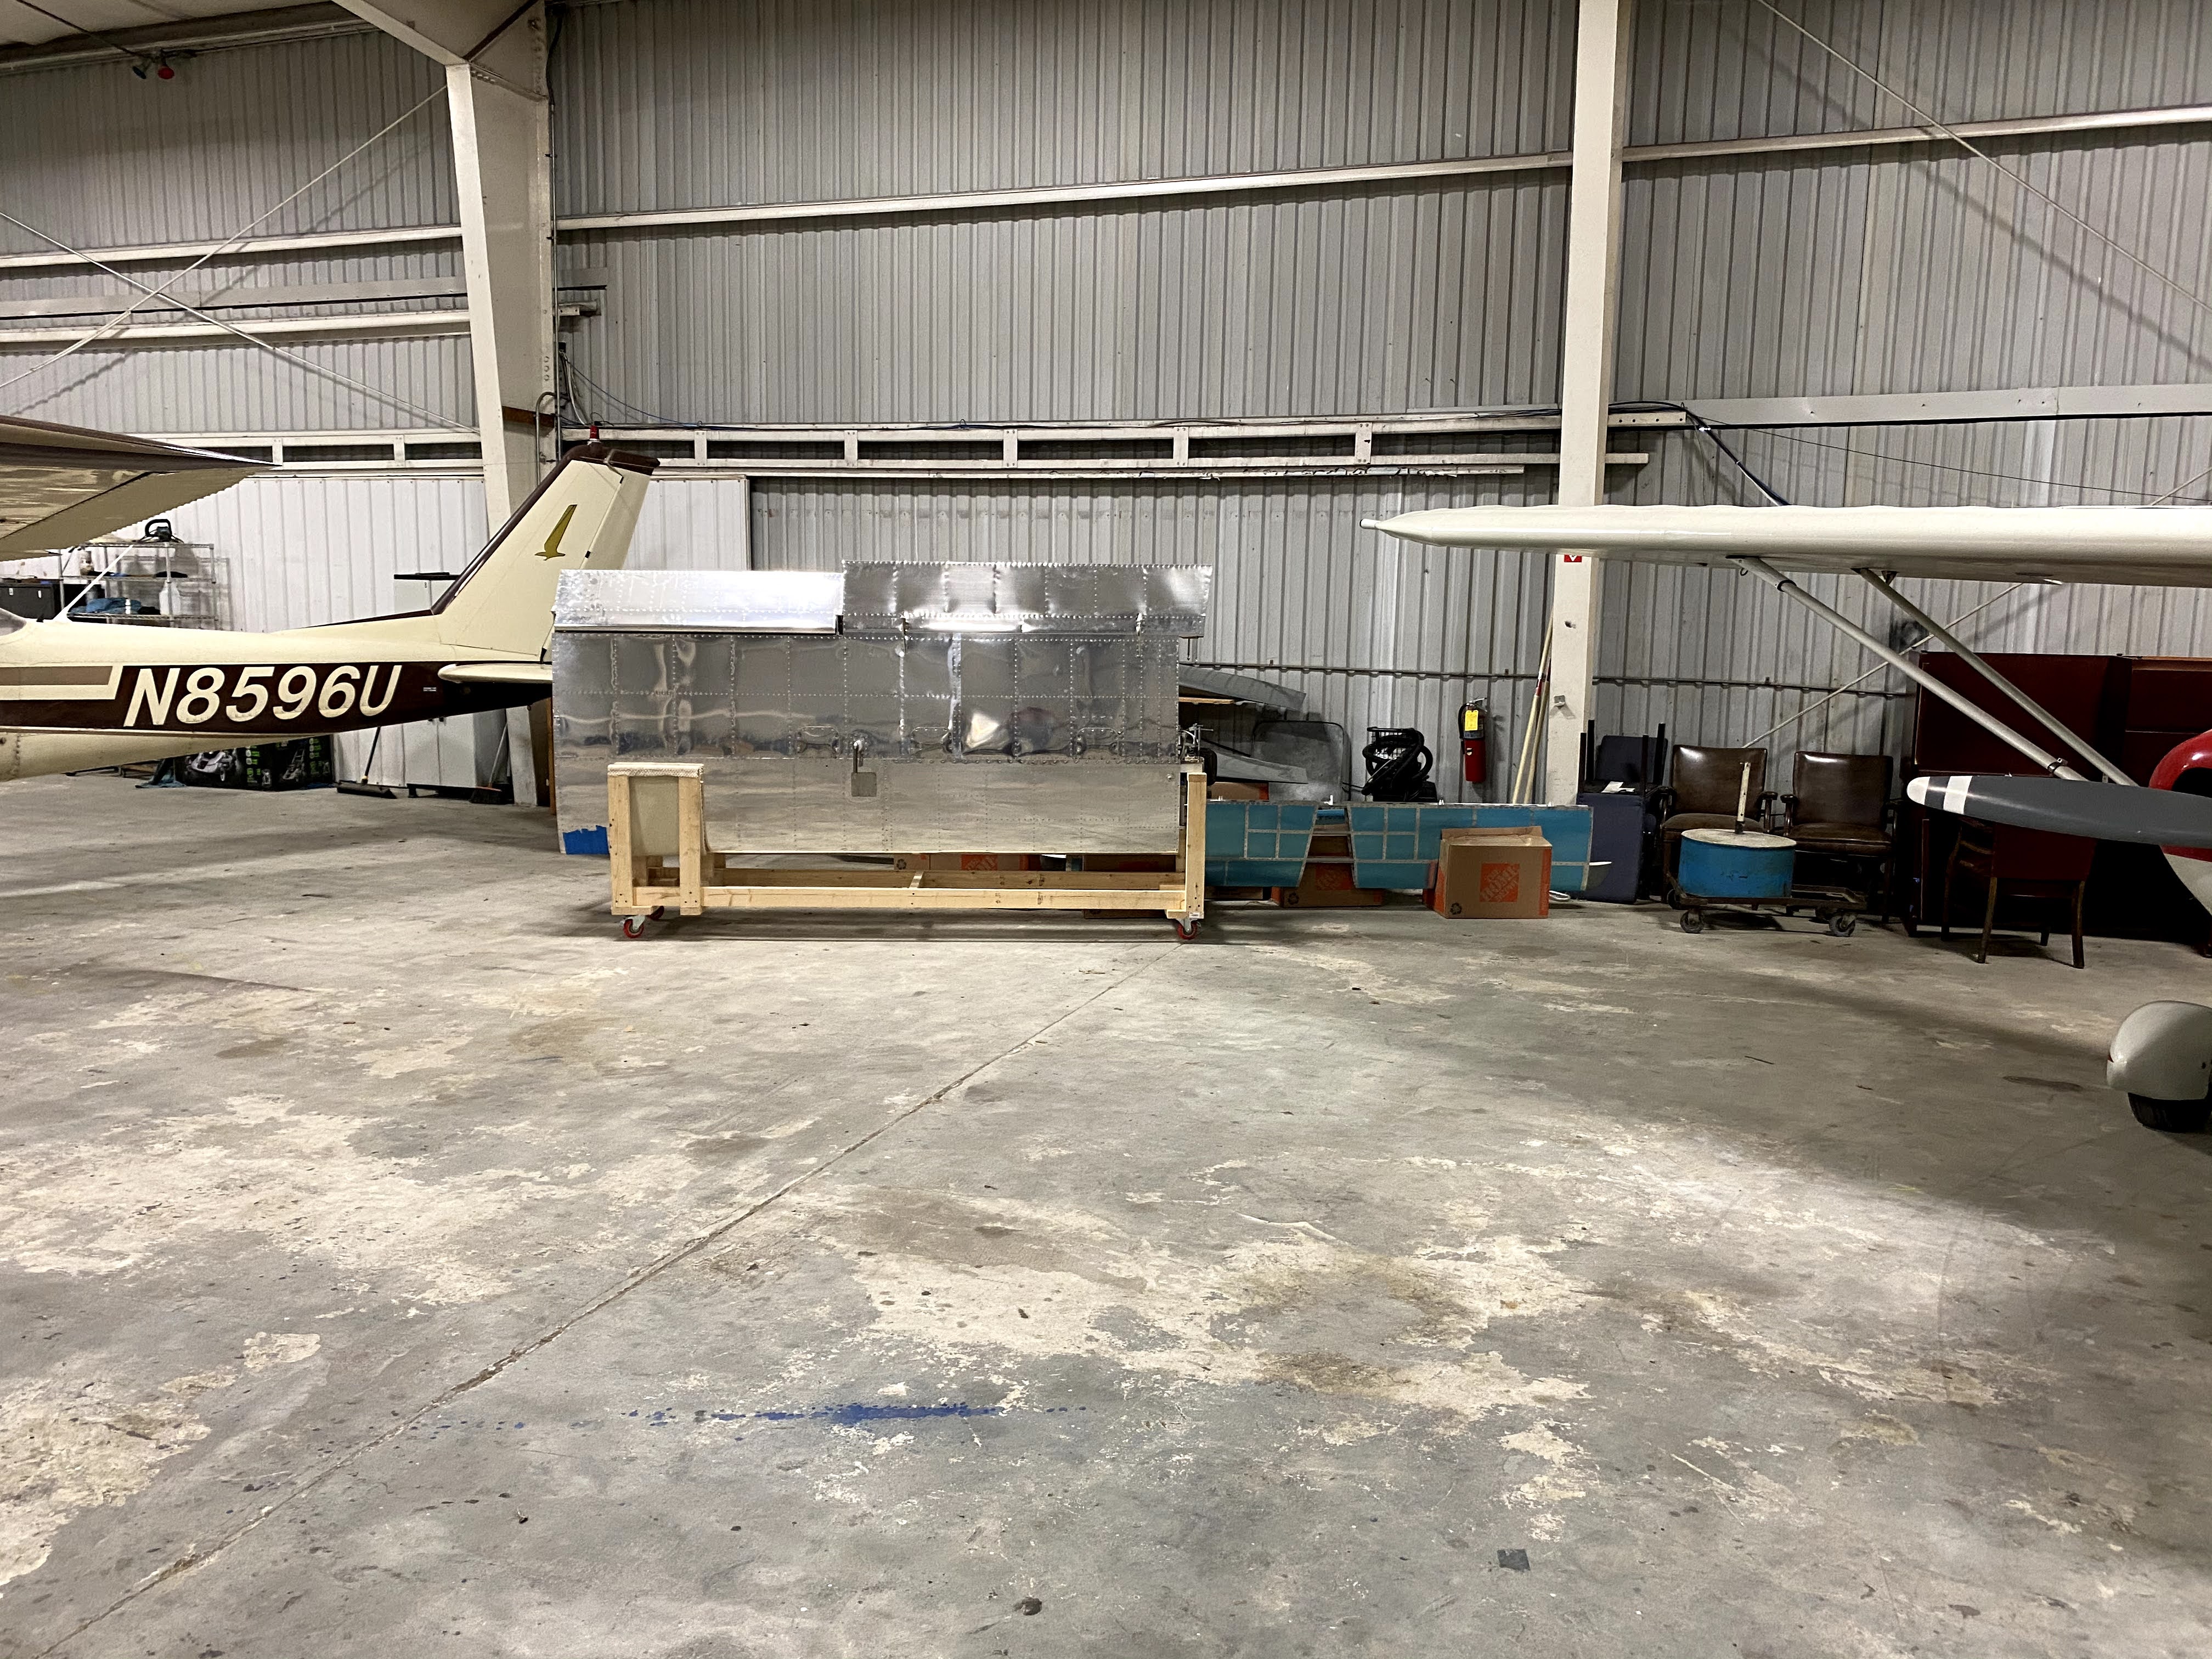
I secured a shared hangar space at McCollum Field (KRYY).

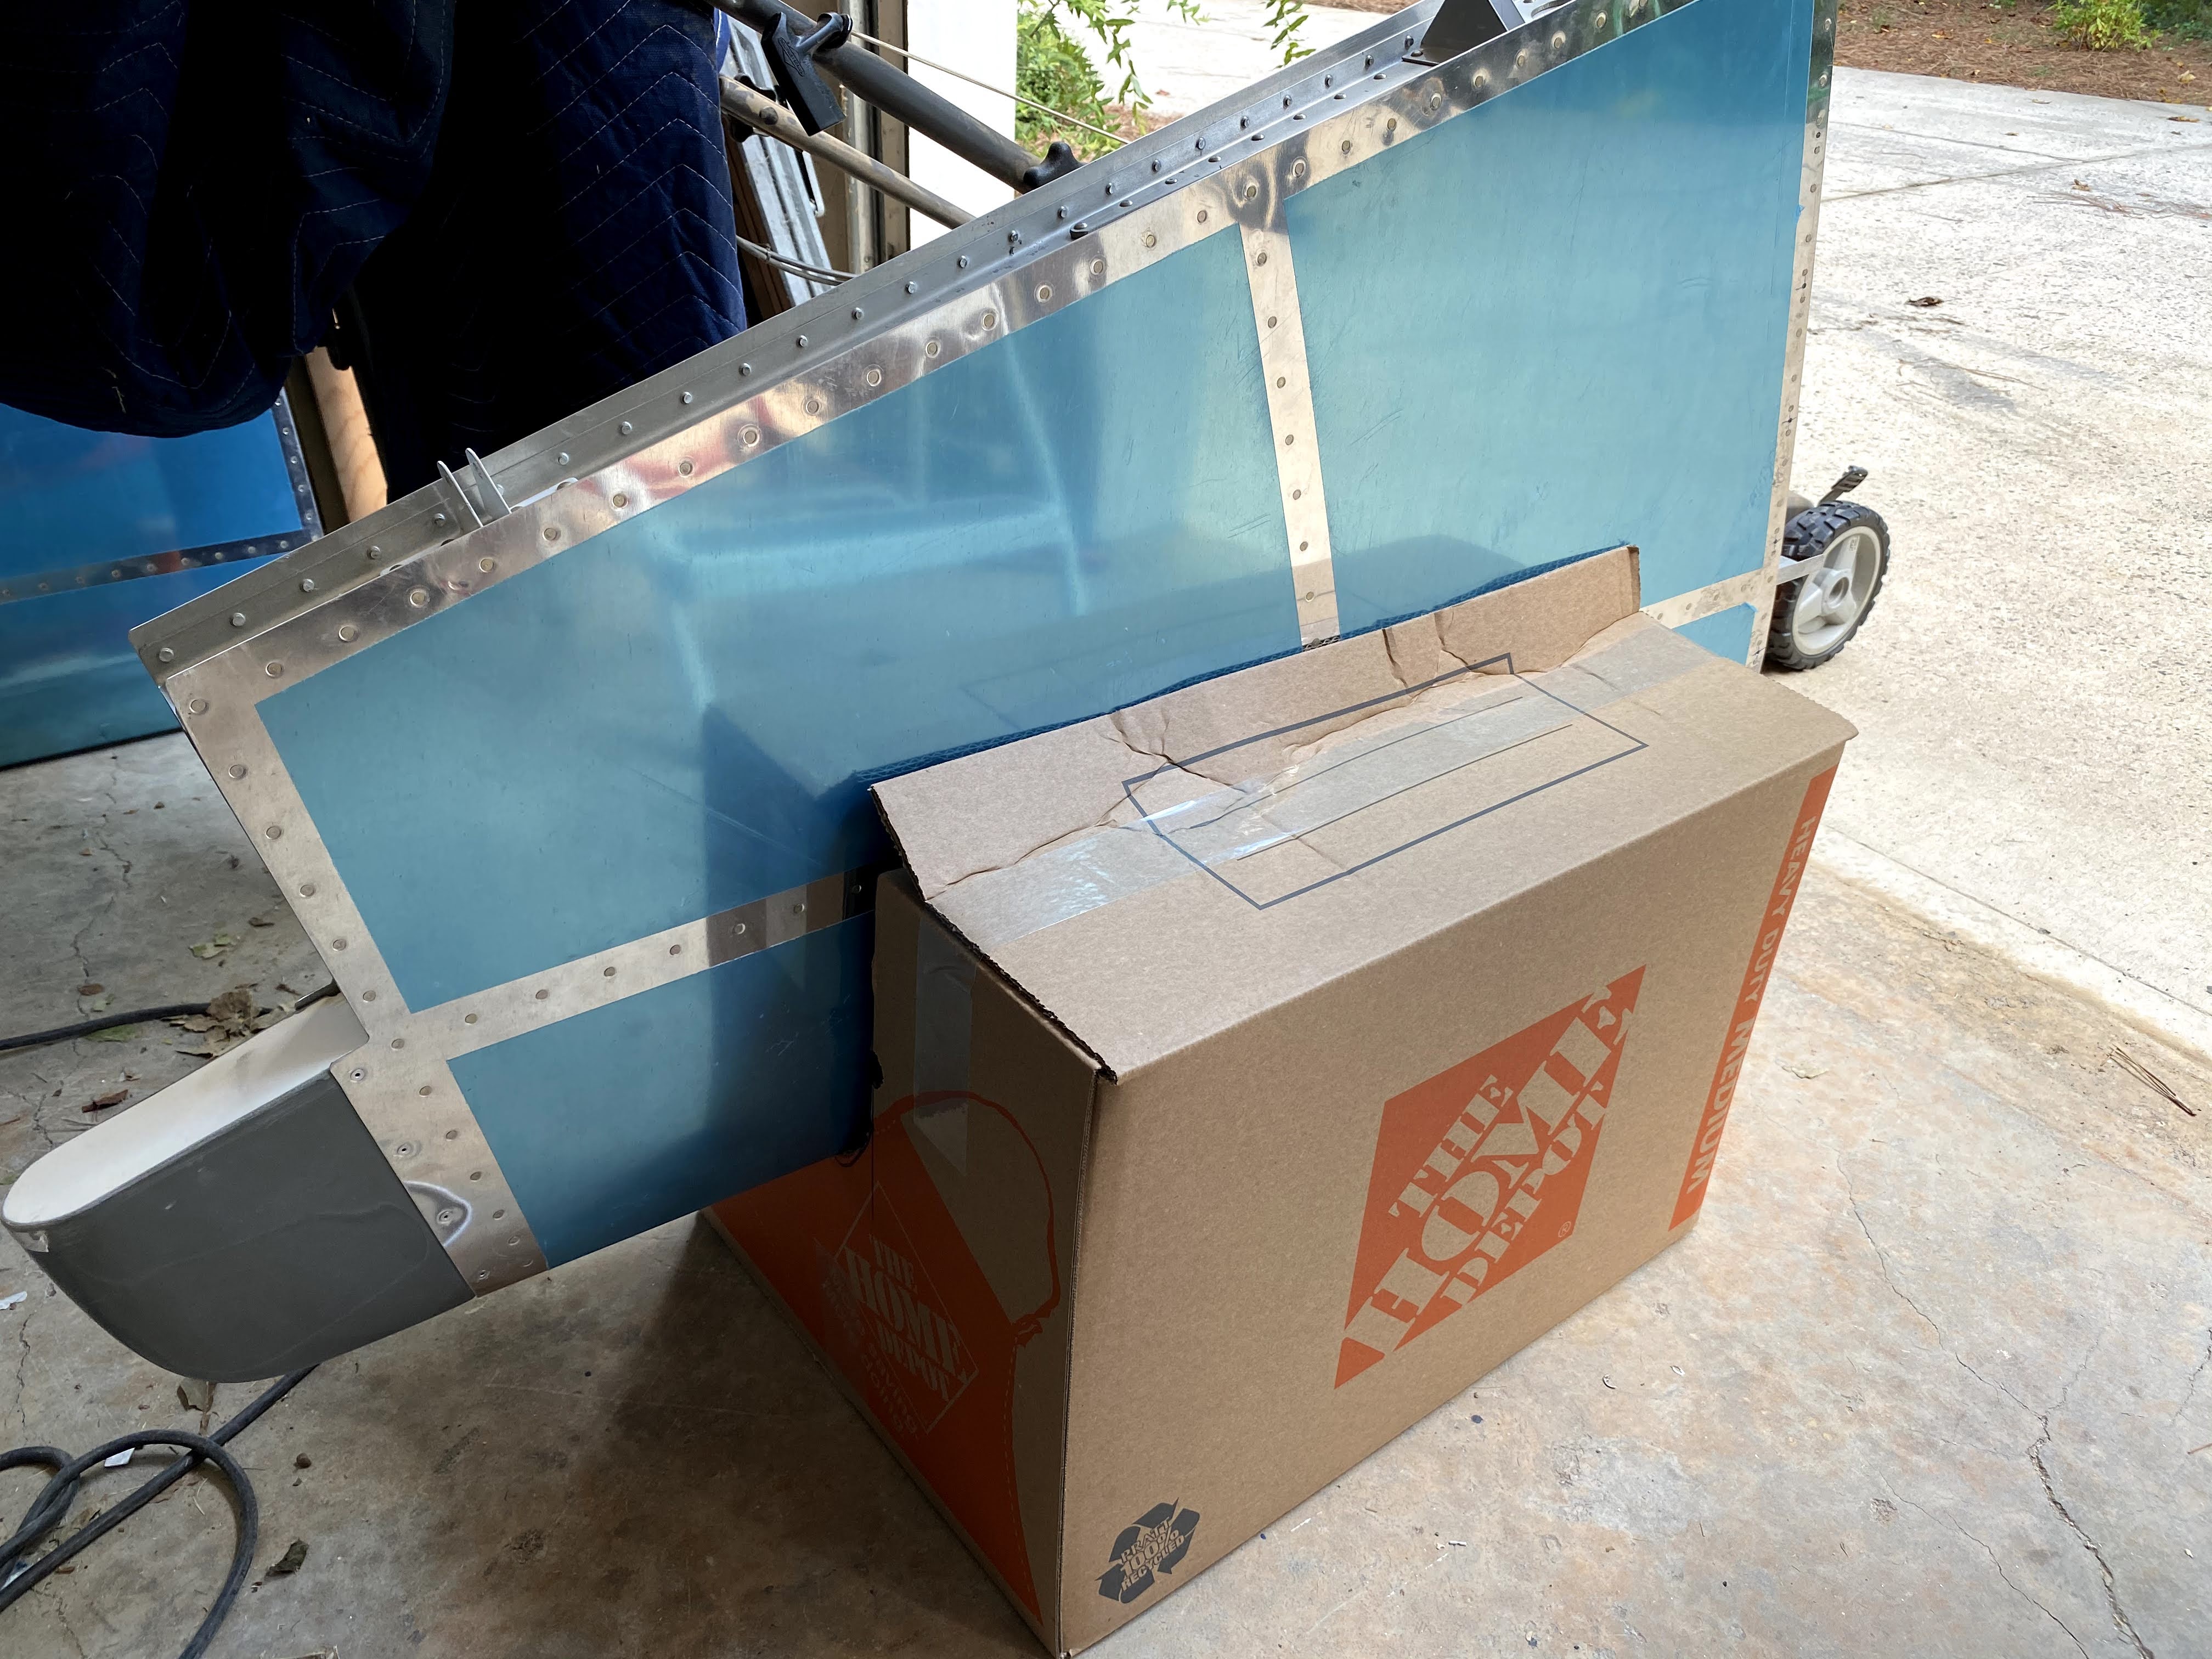
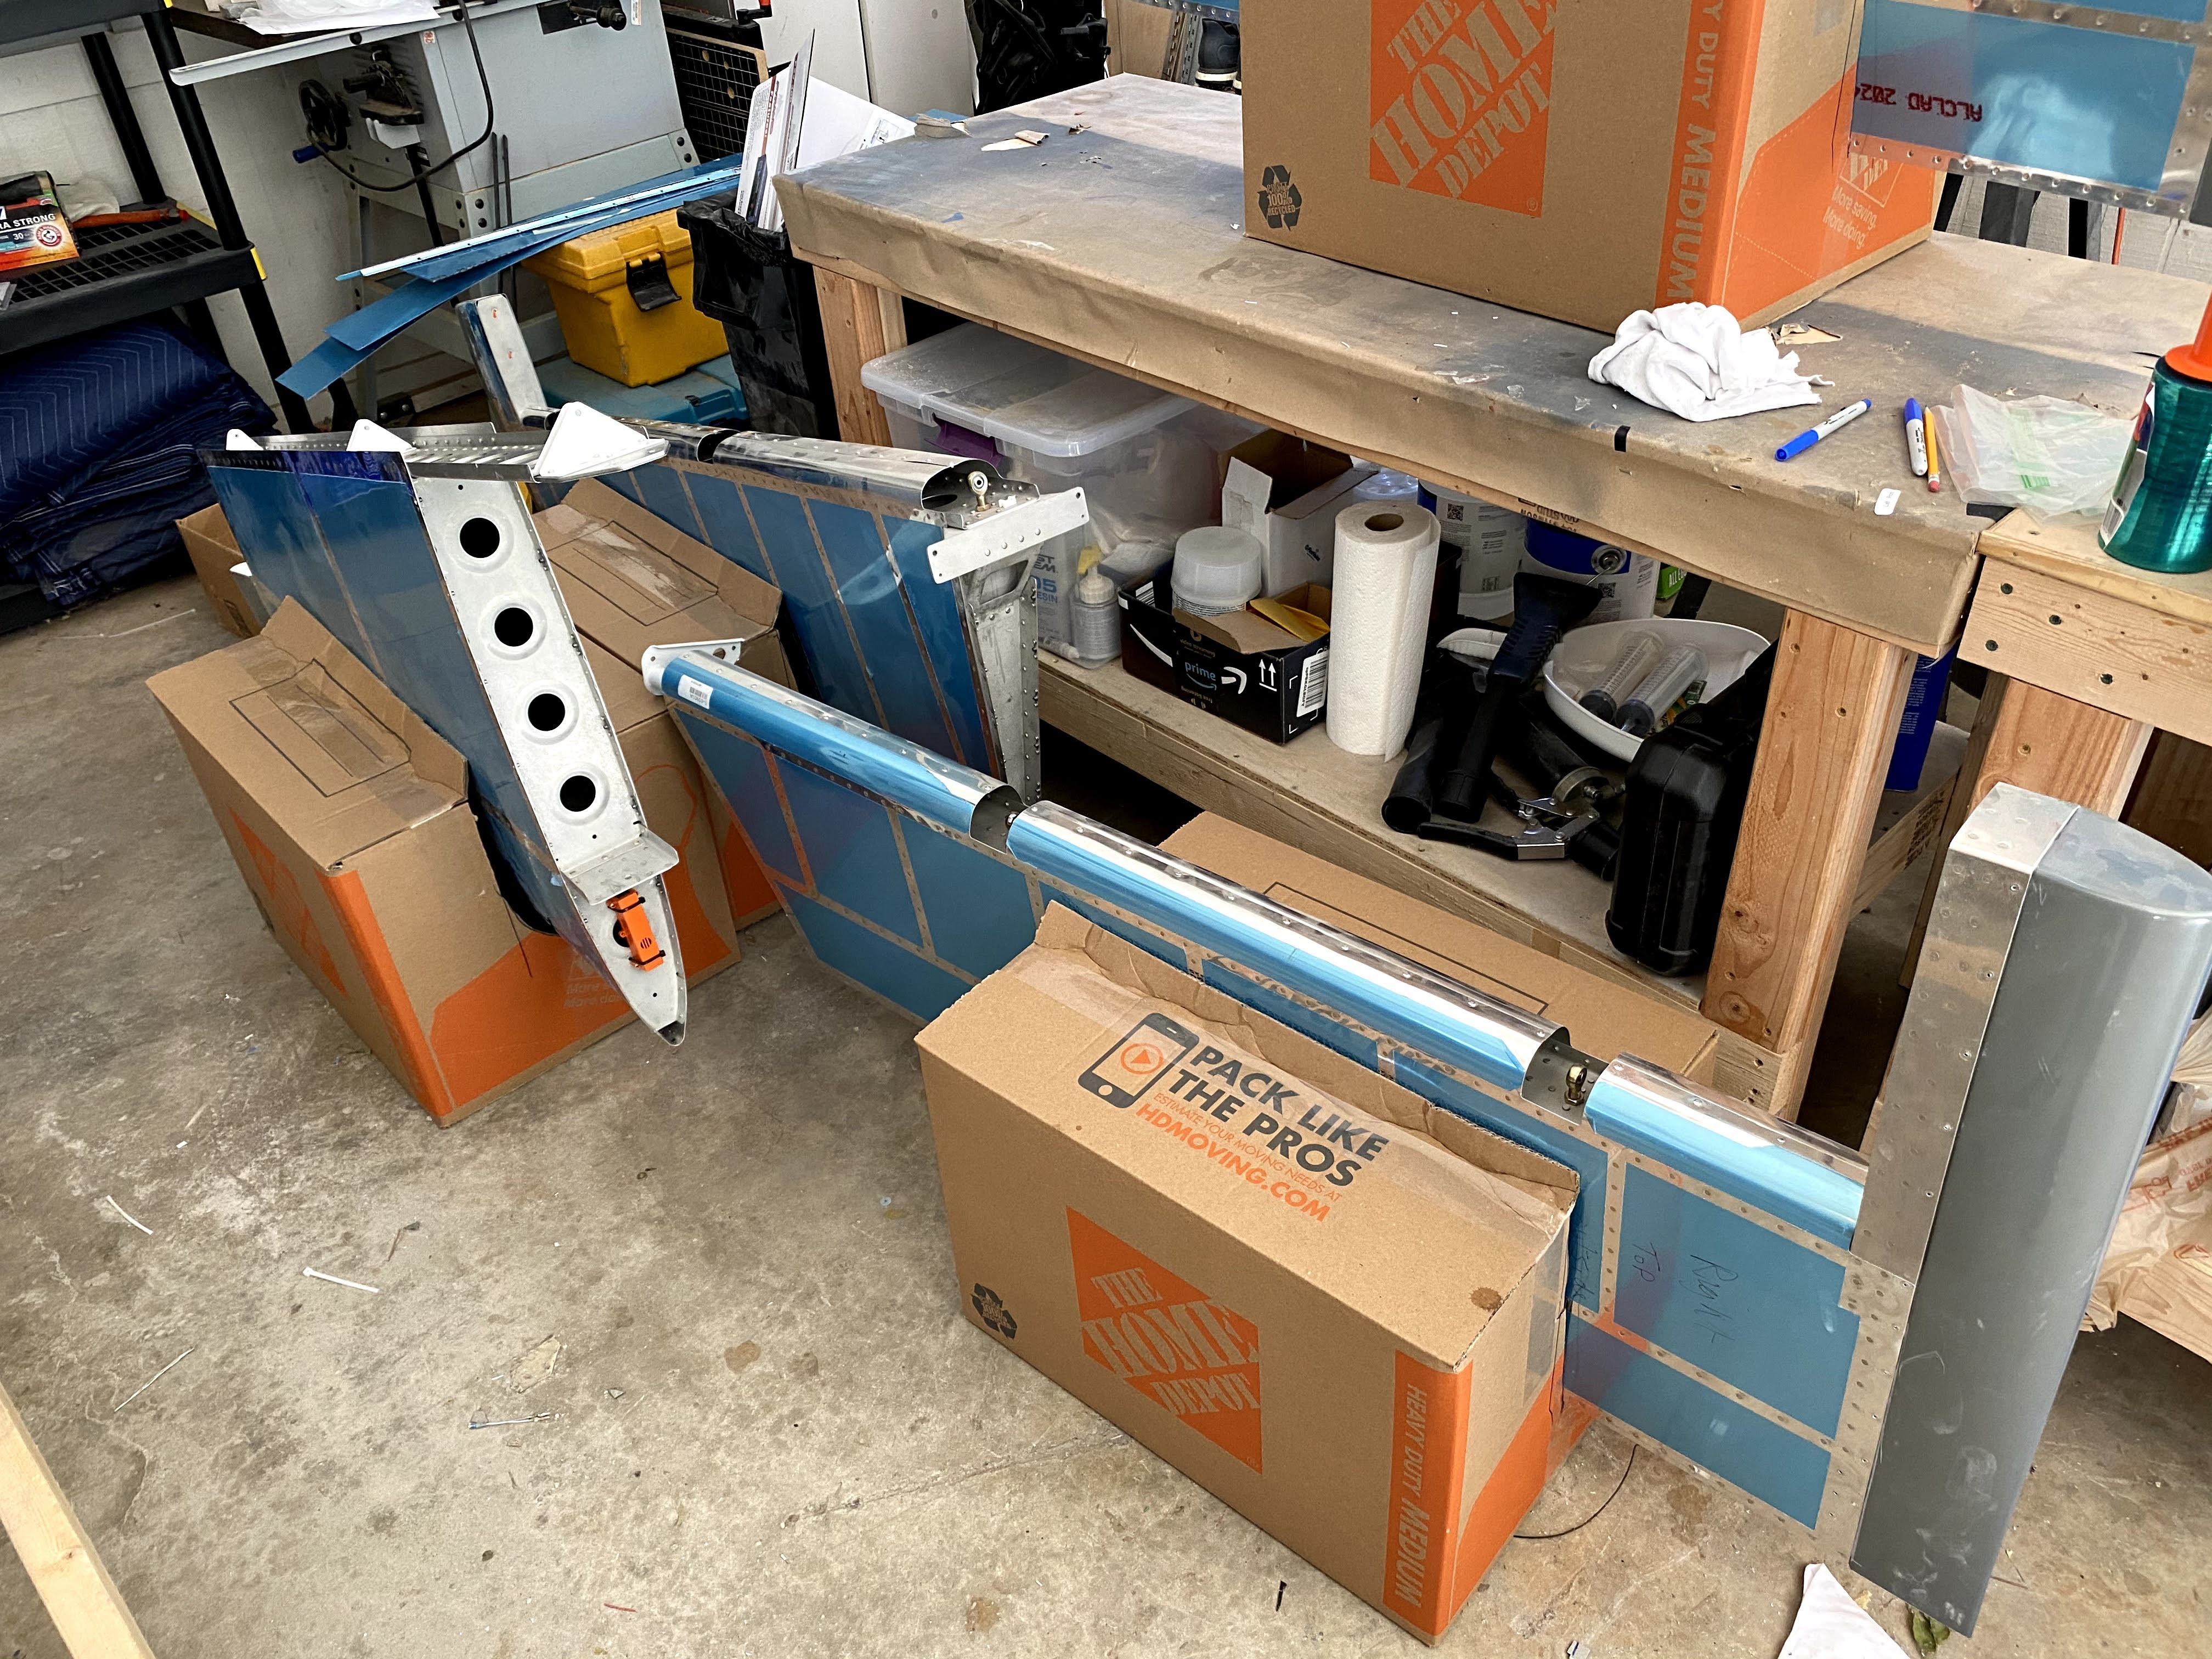
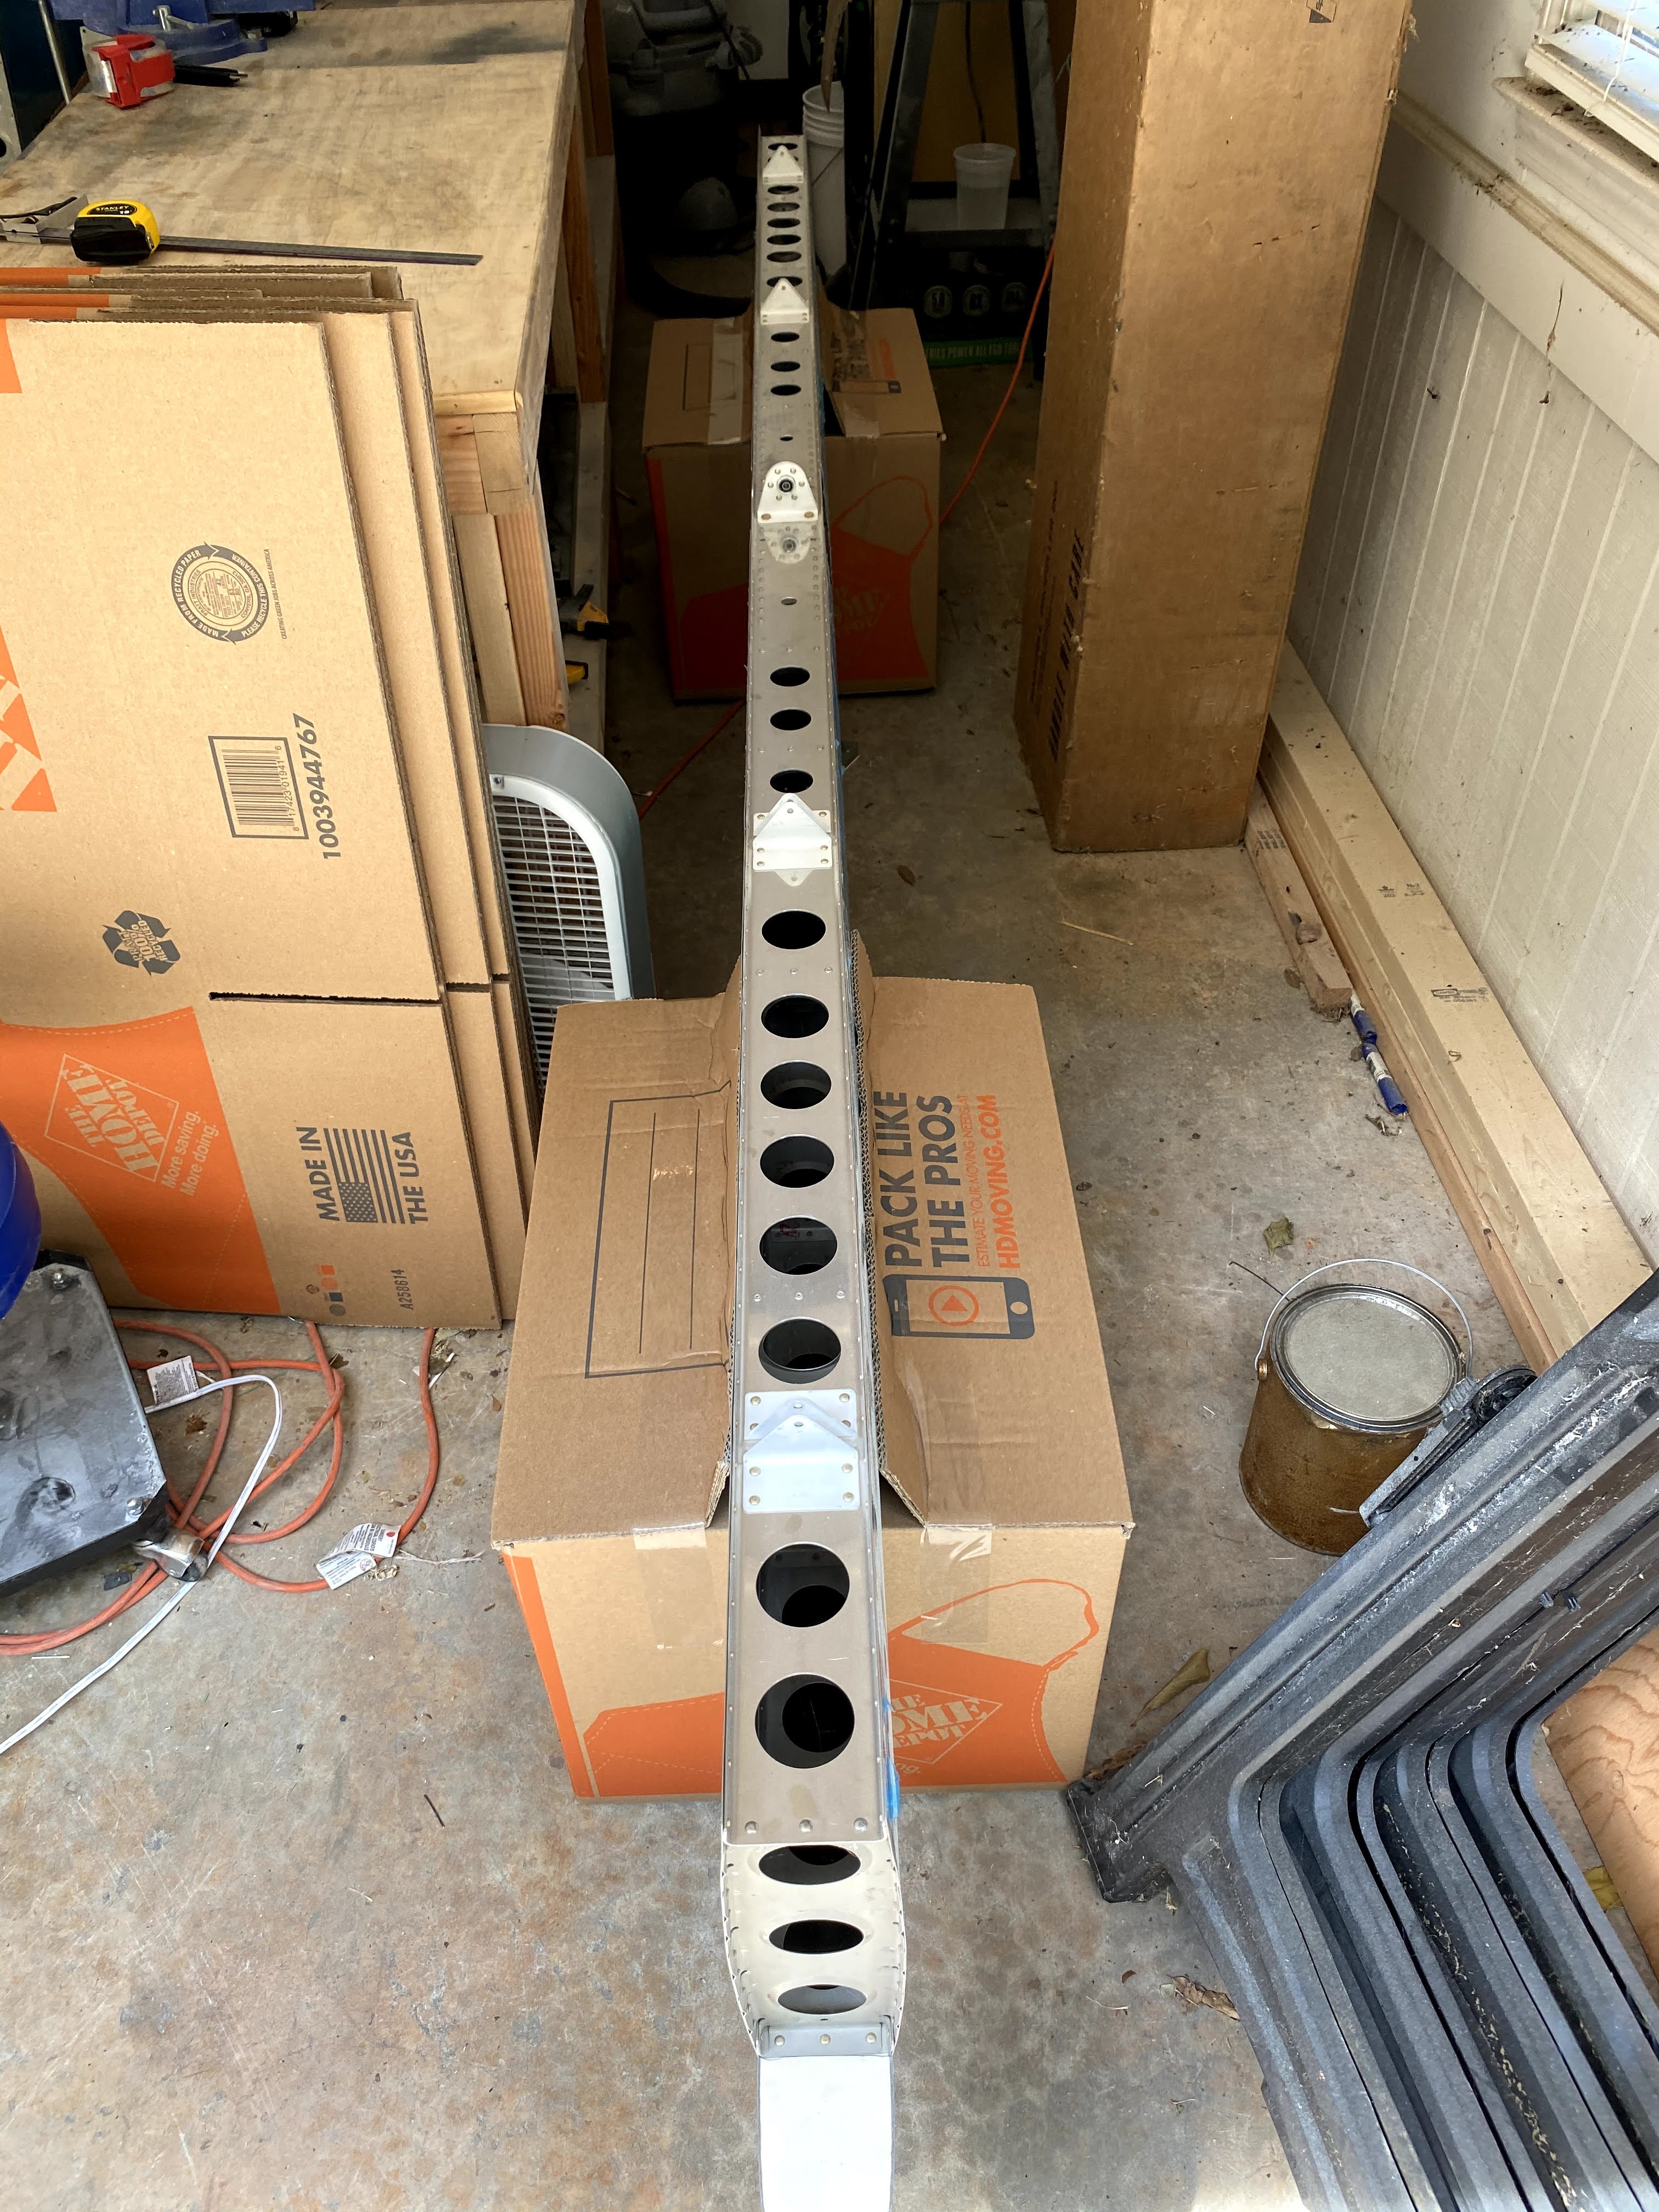
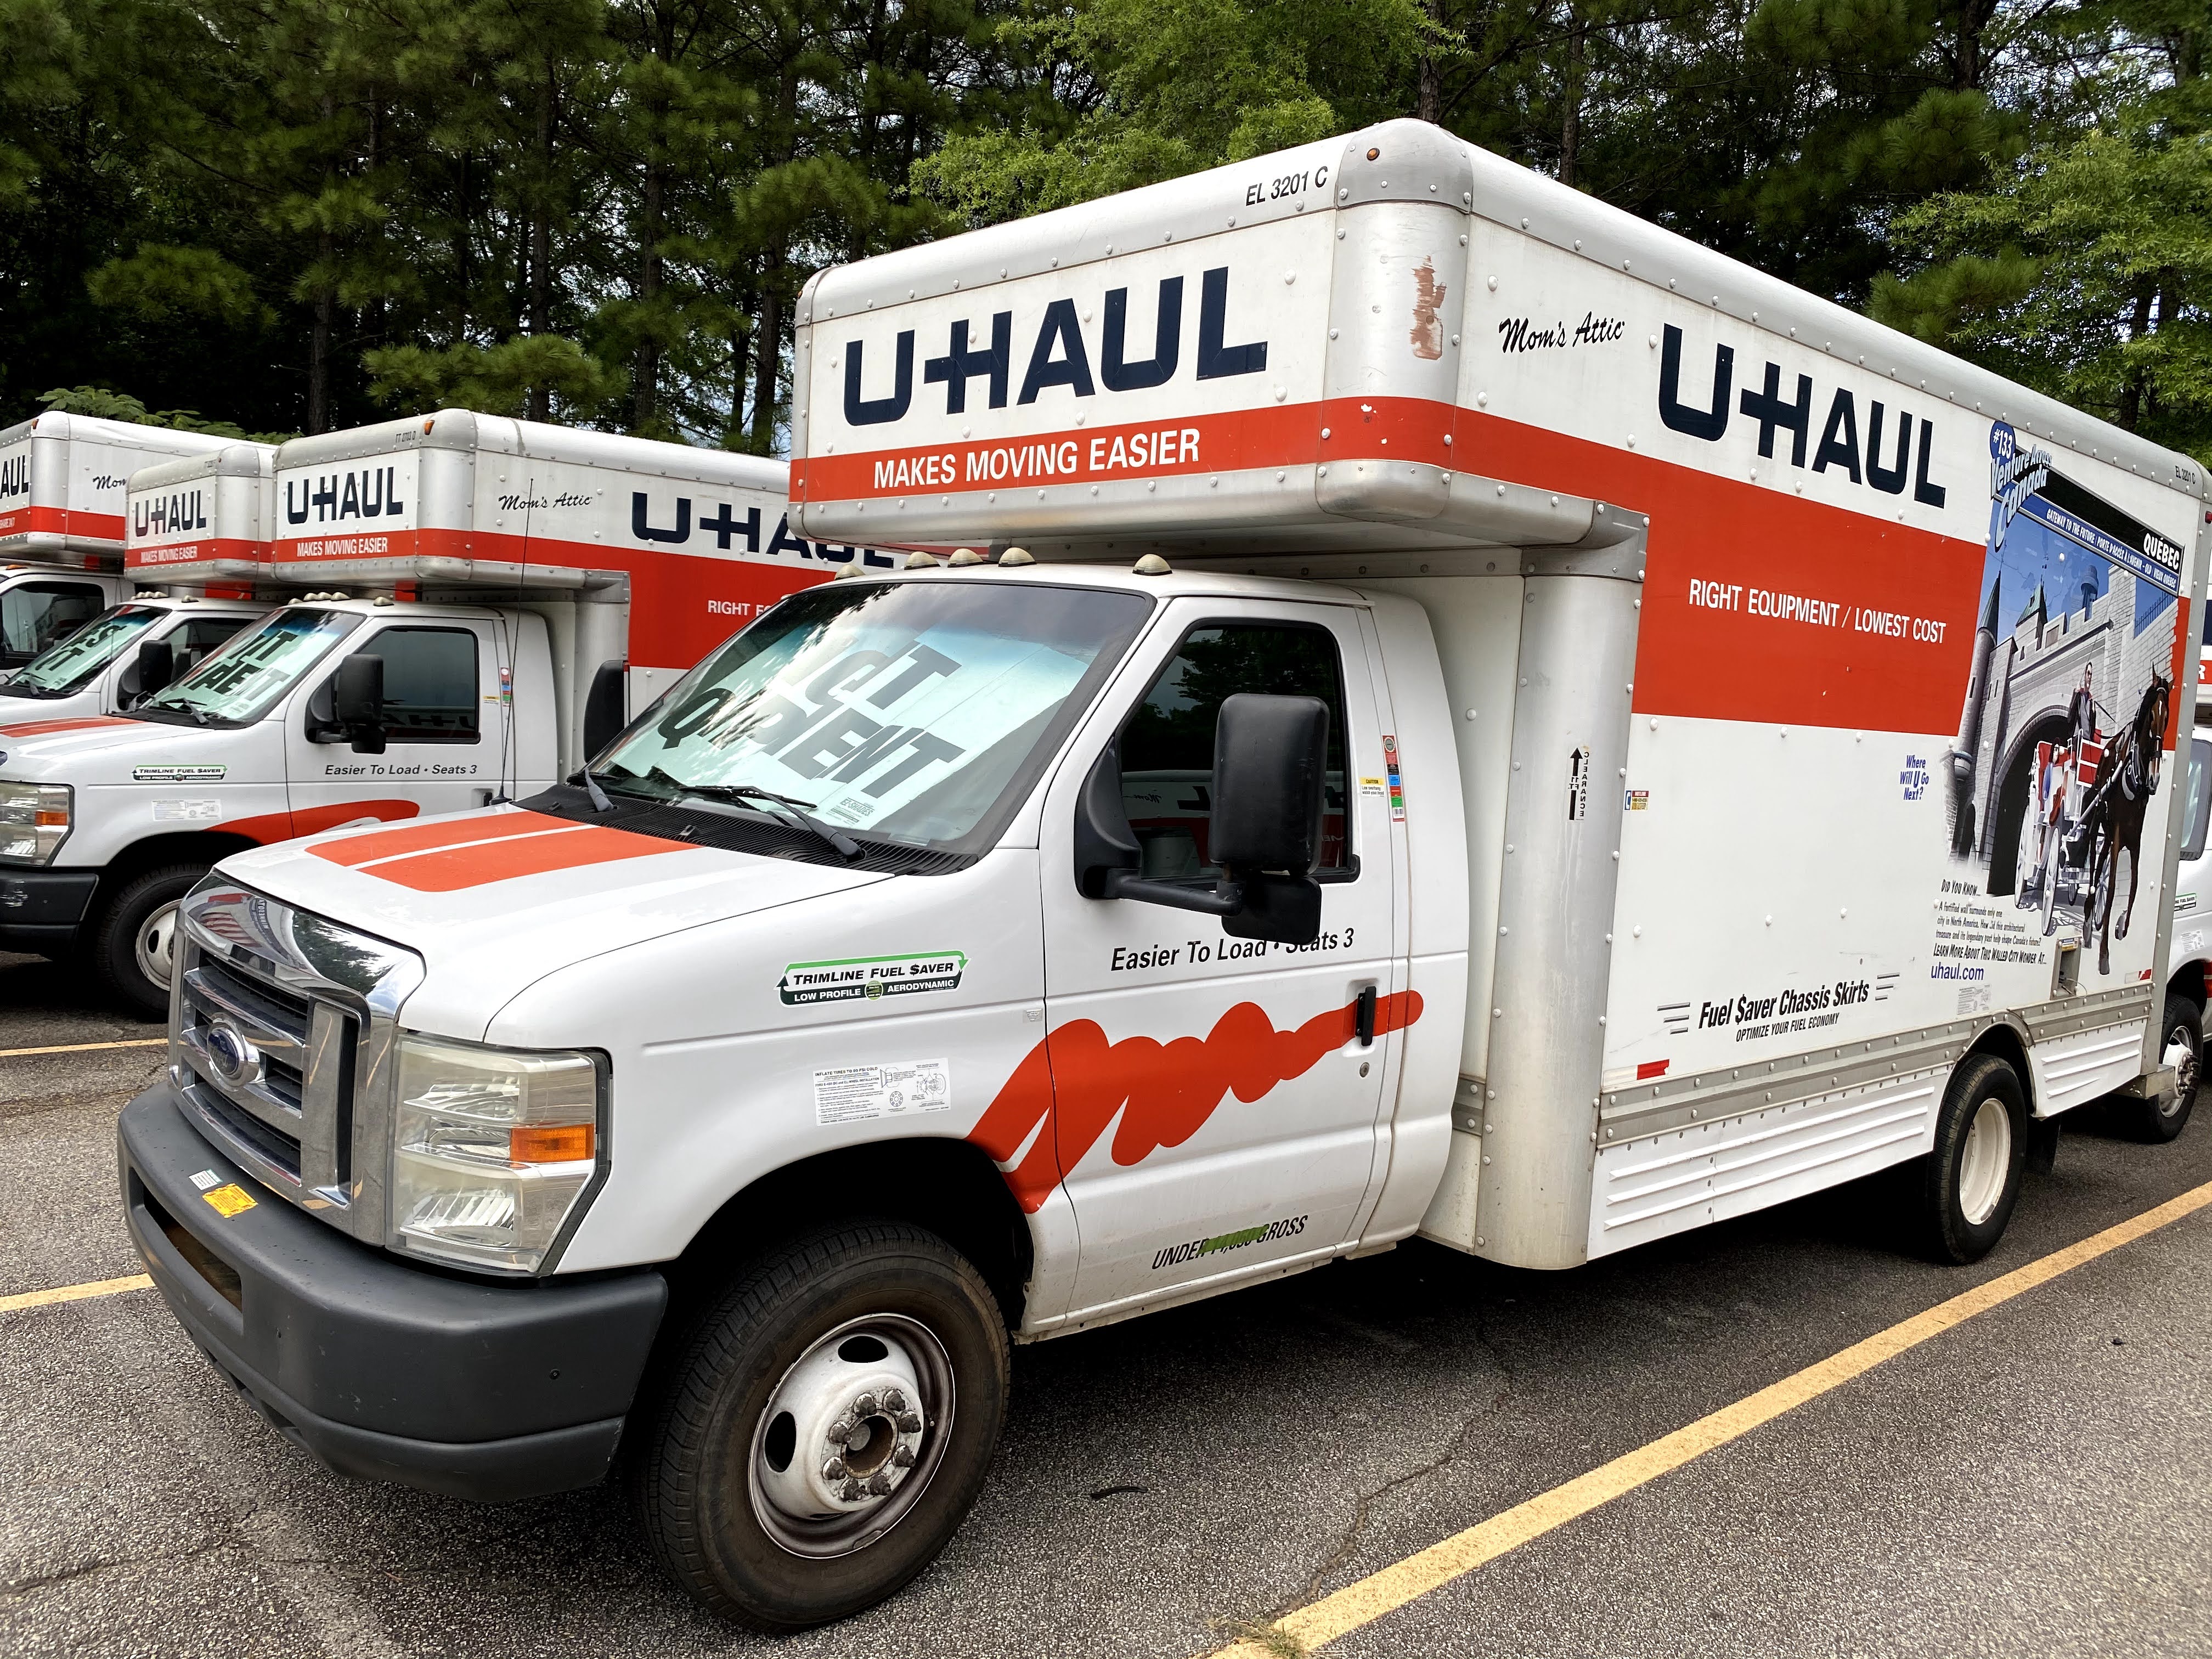
I made cradles from heavy duty moving boxes that I bought from HD. This was cheap, quick and actually worked really well. Rented a U-Haul and packed everything up along with the wings and all of the tools to complete the project at the airport. Remy was a huge help getting everything moved.

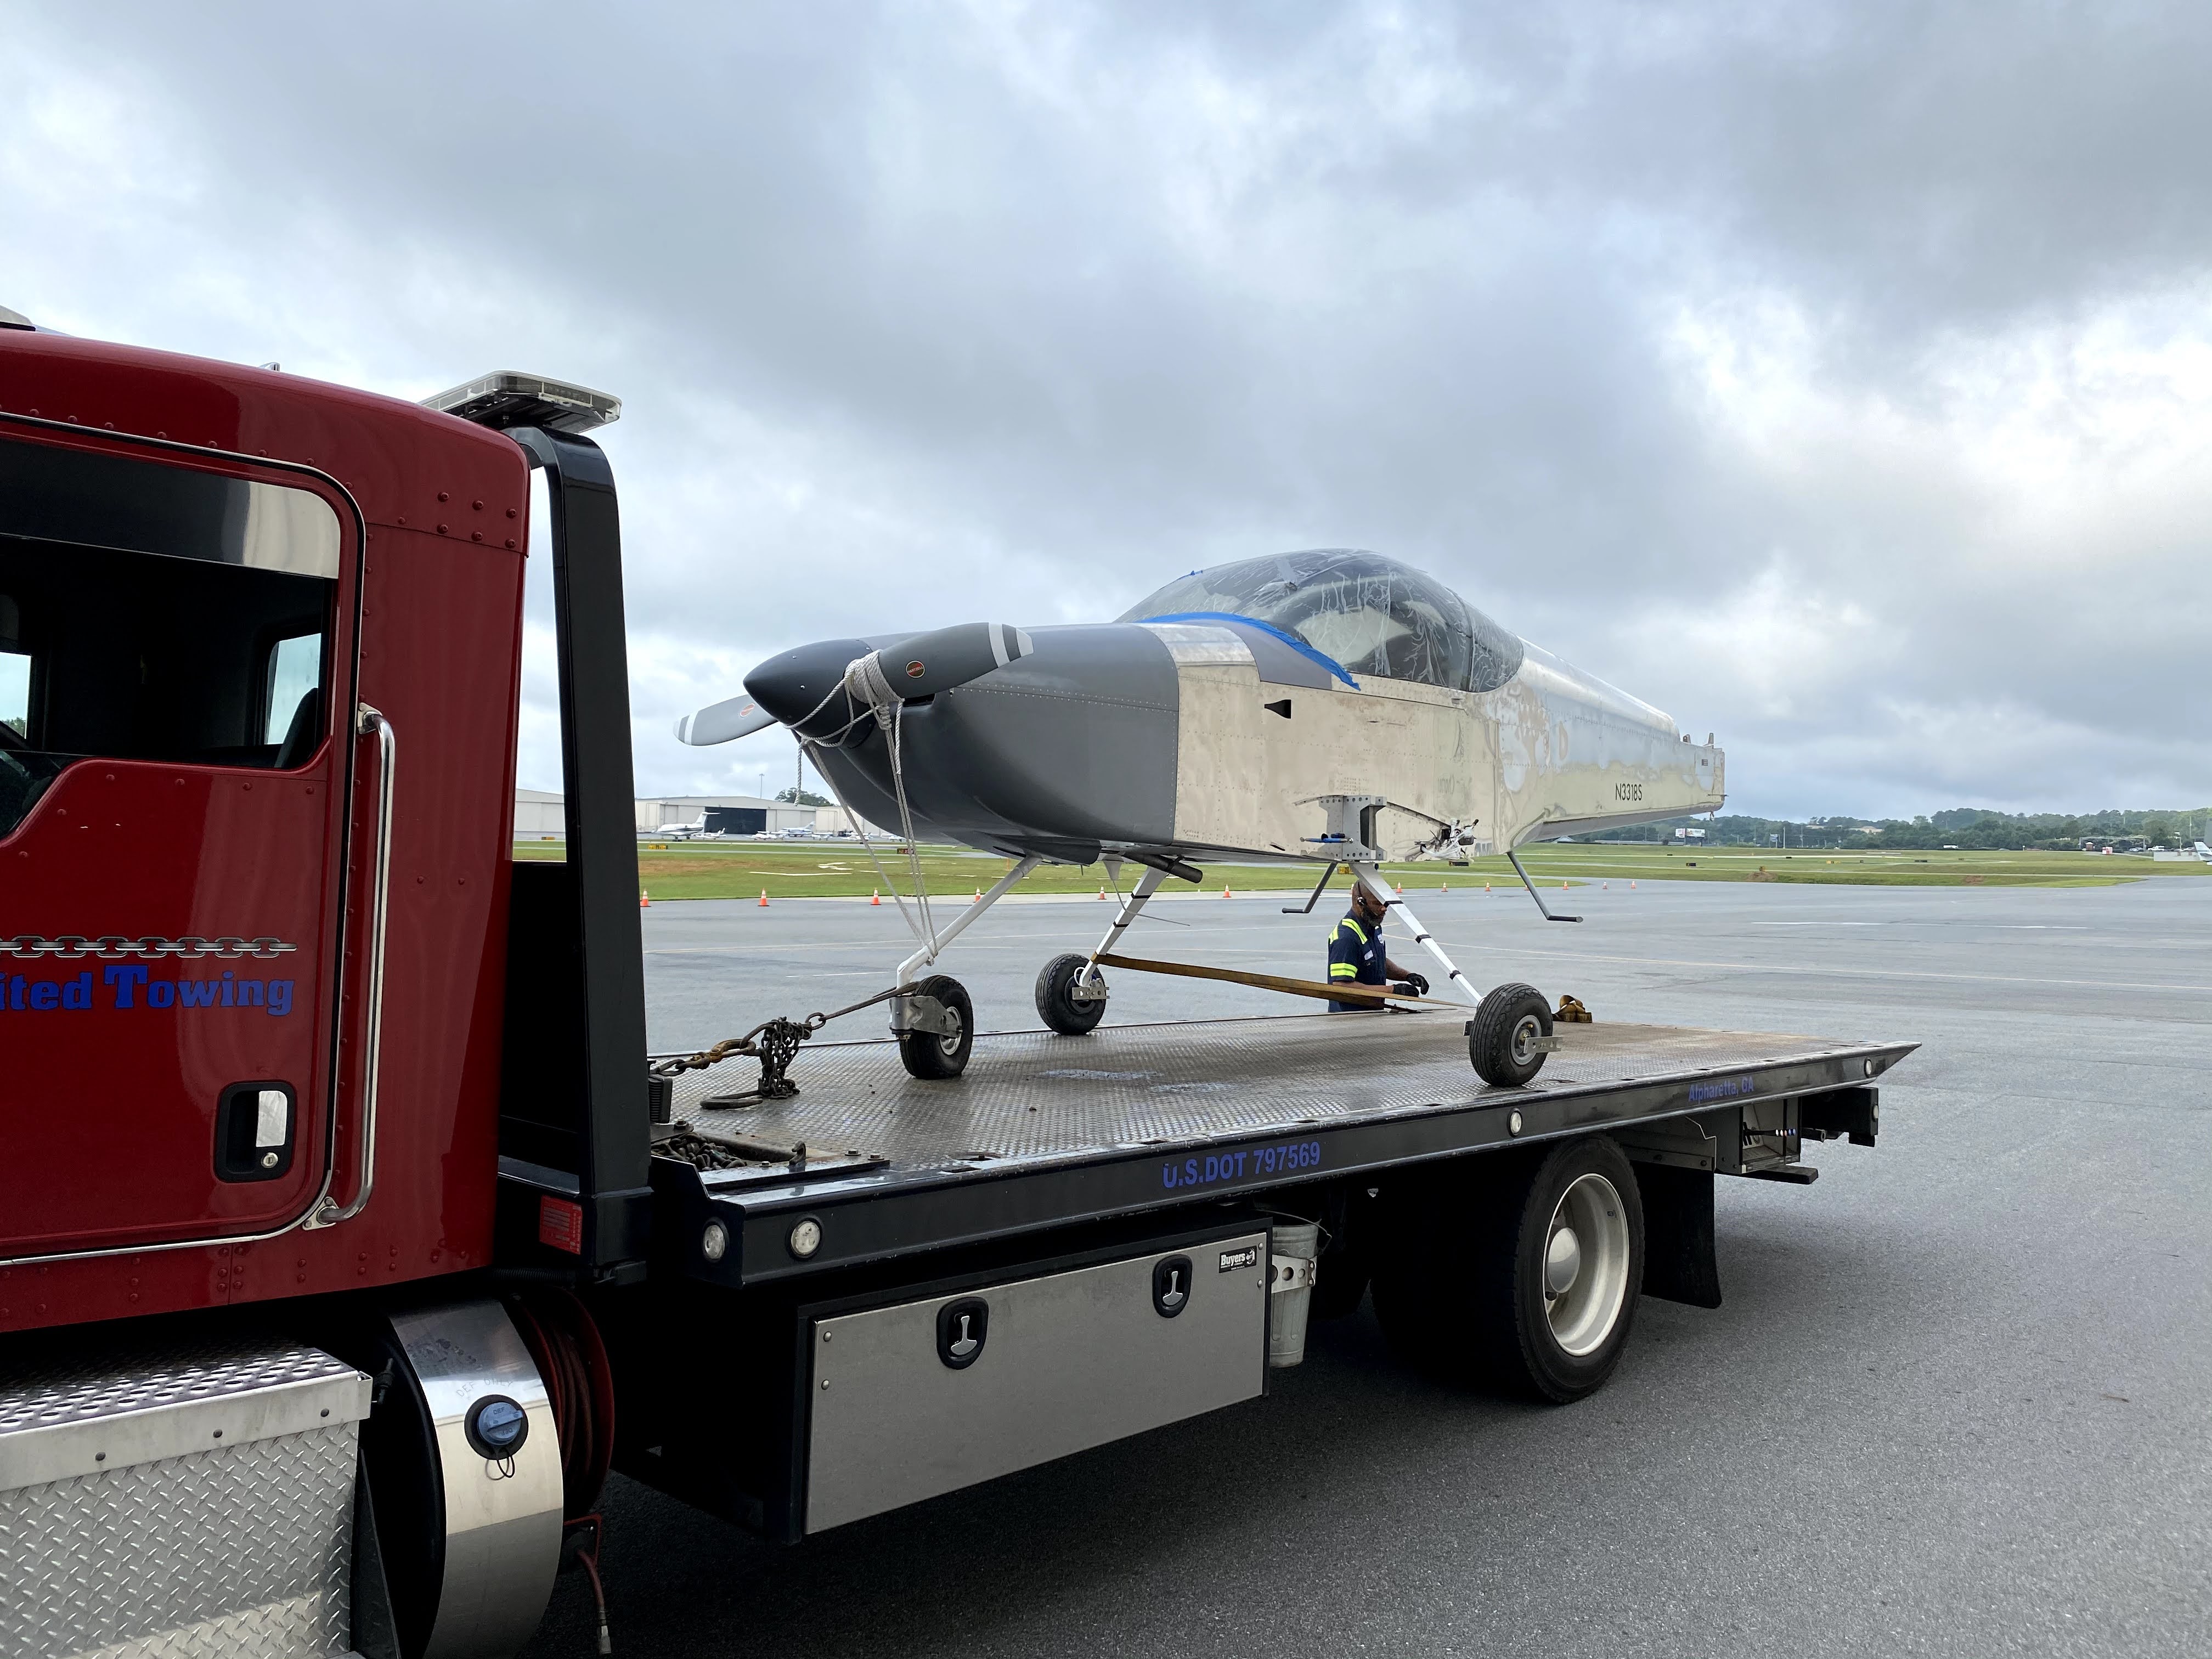
Hired United Towing from Alpharetta to move the fuselage to the airport. They did a terrific job. I’ll be honest though… Watching my plane go down the road on the back of a flatbed was one of the most anxious experiences of my life.

Remy and I attached the stabilizers, ruder, and elevators. Then Jared and Wes showed up and we got the wings attached. Very exciting Day!

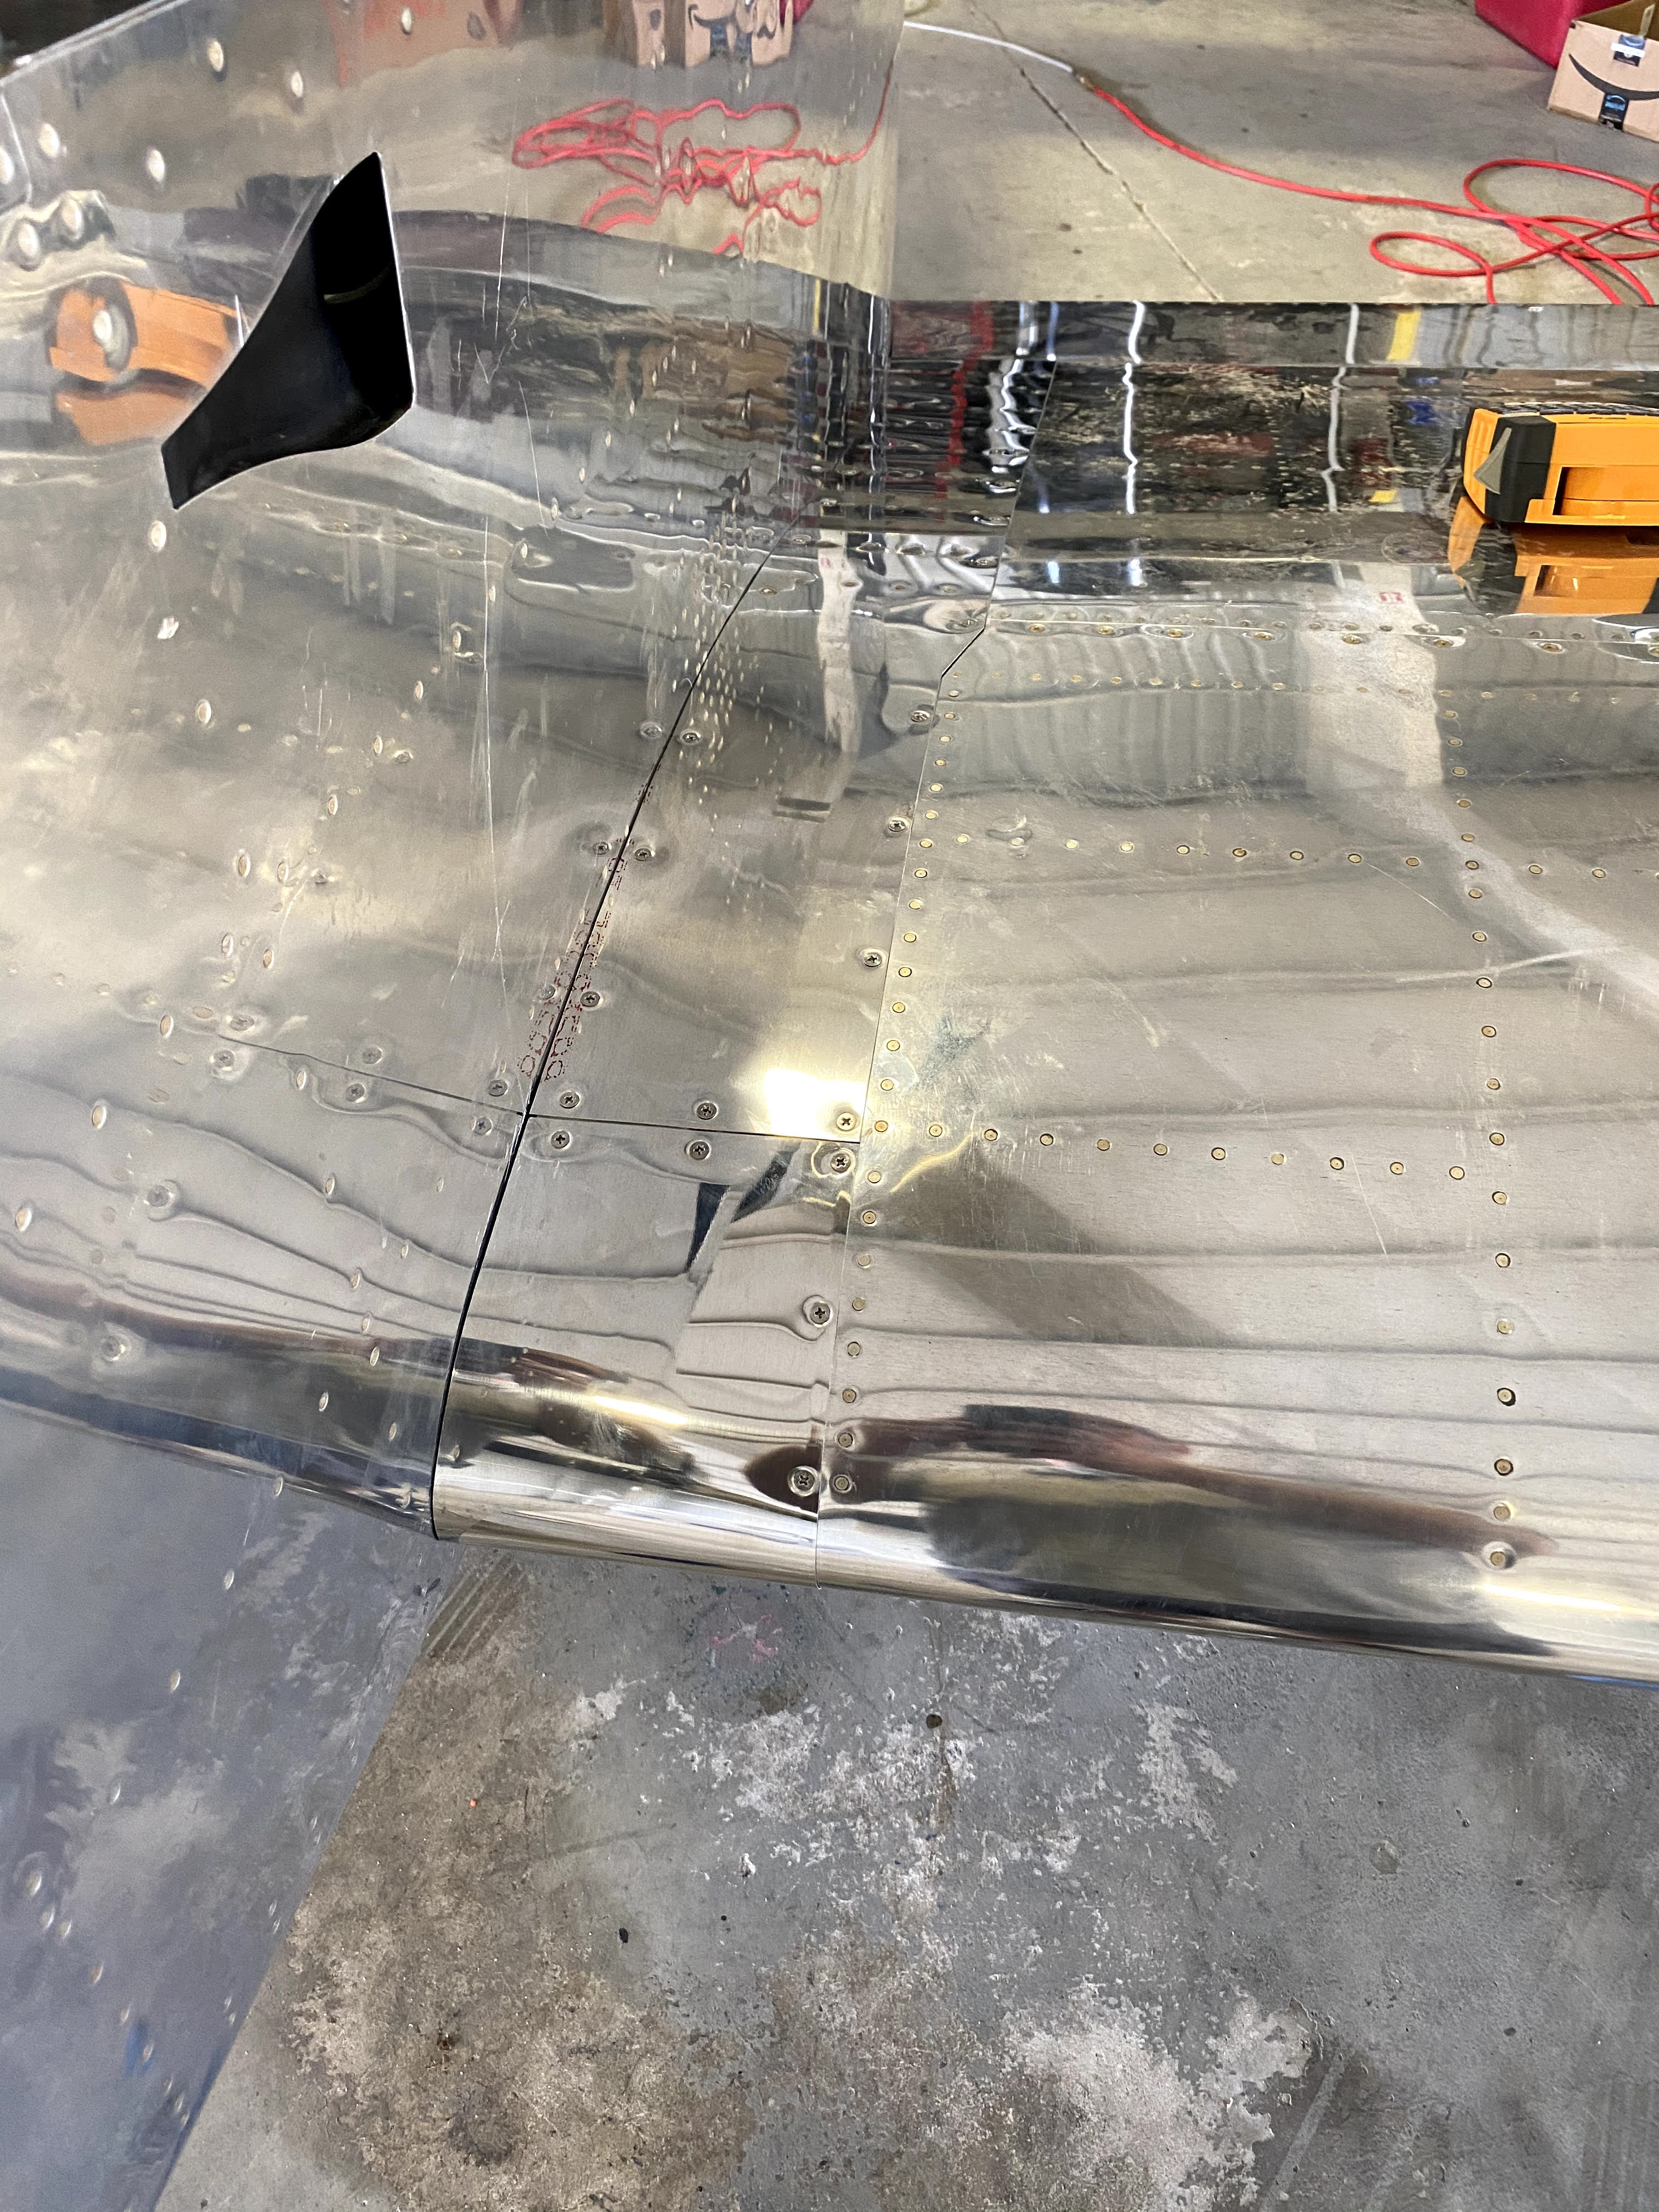
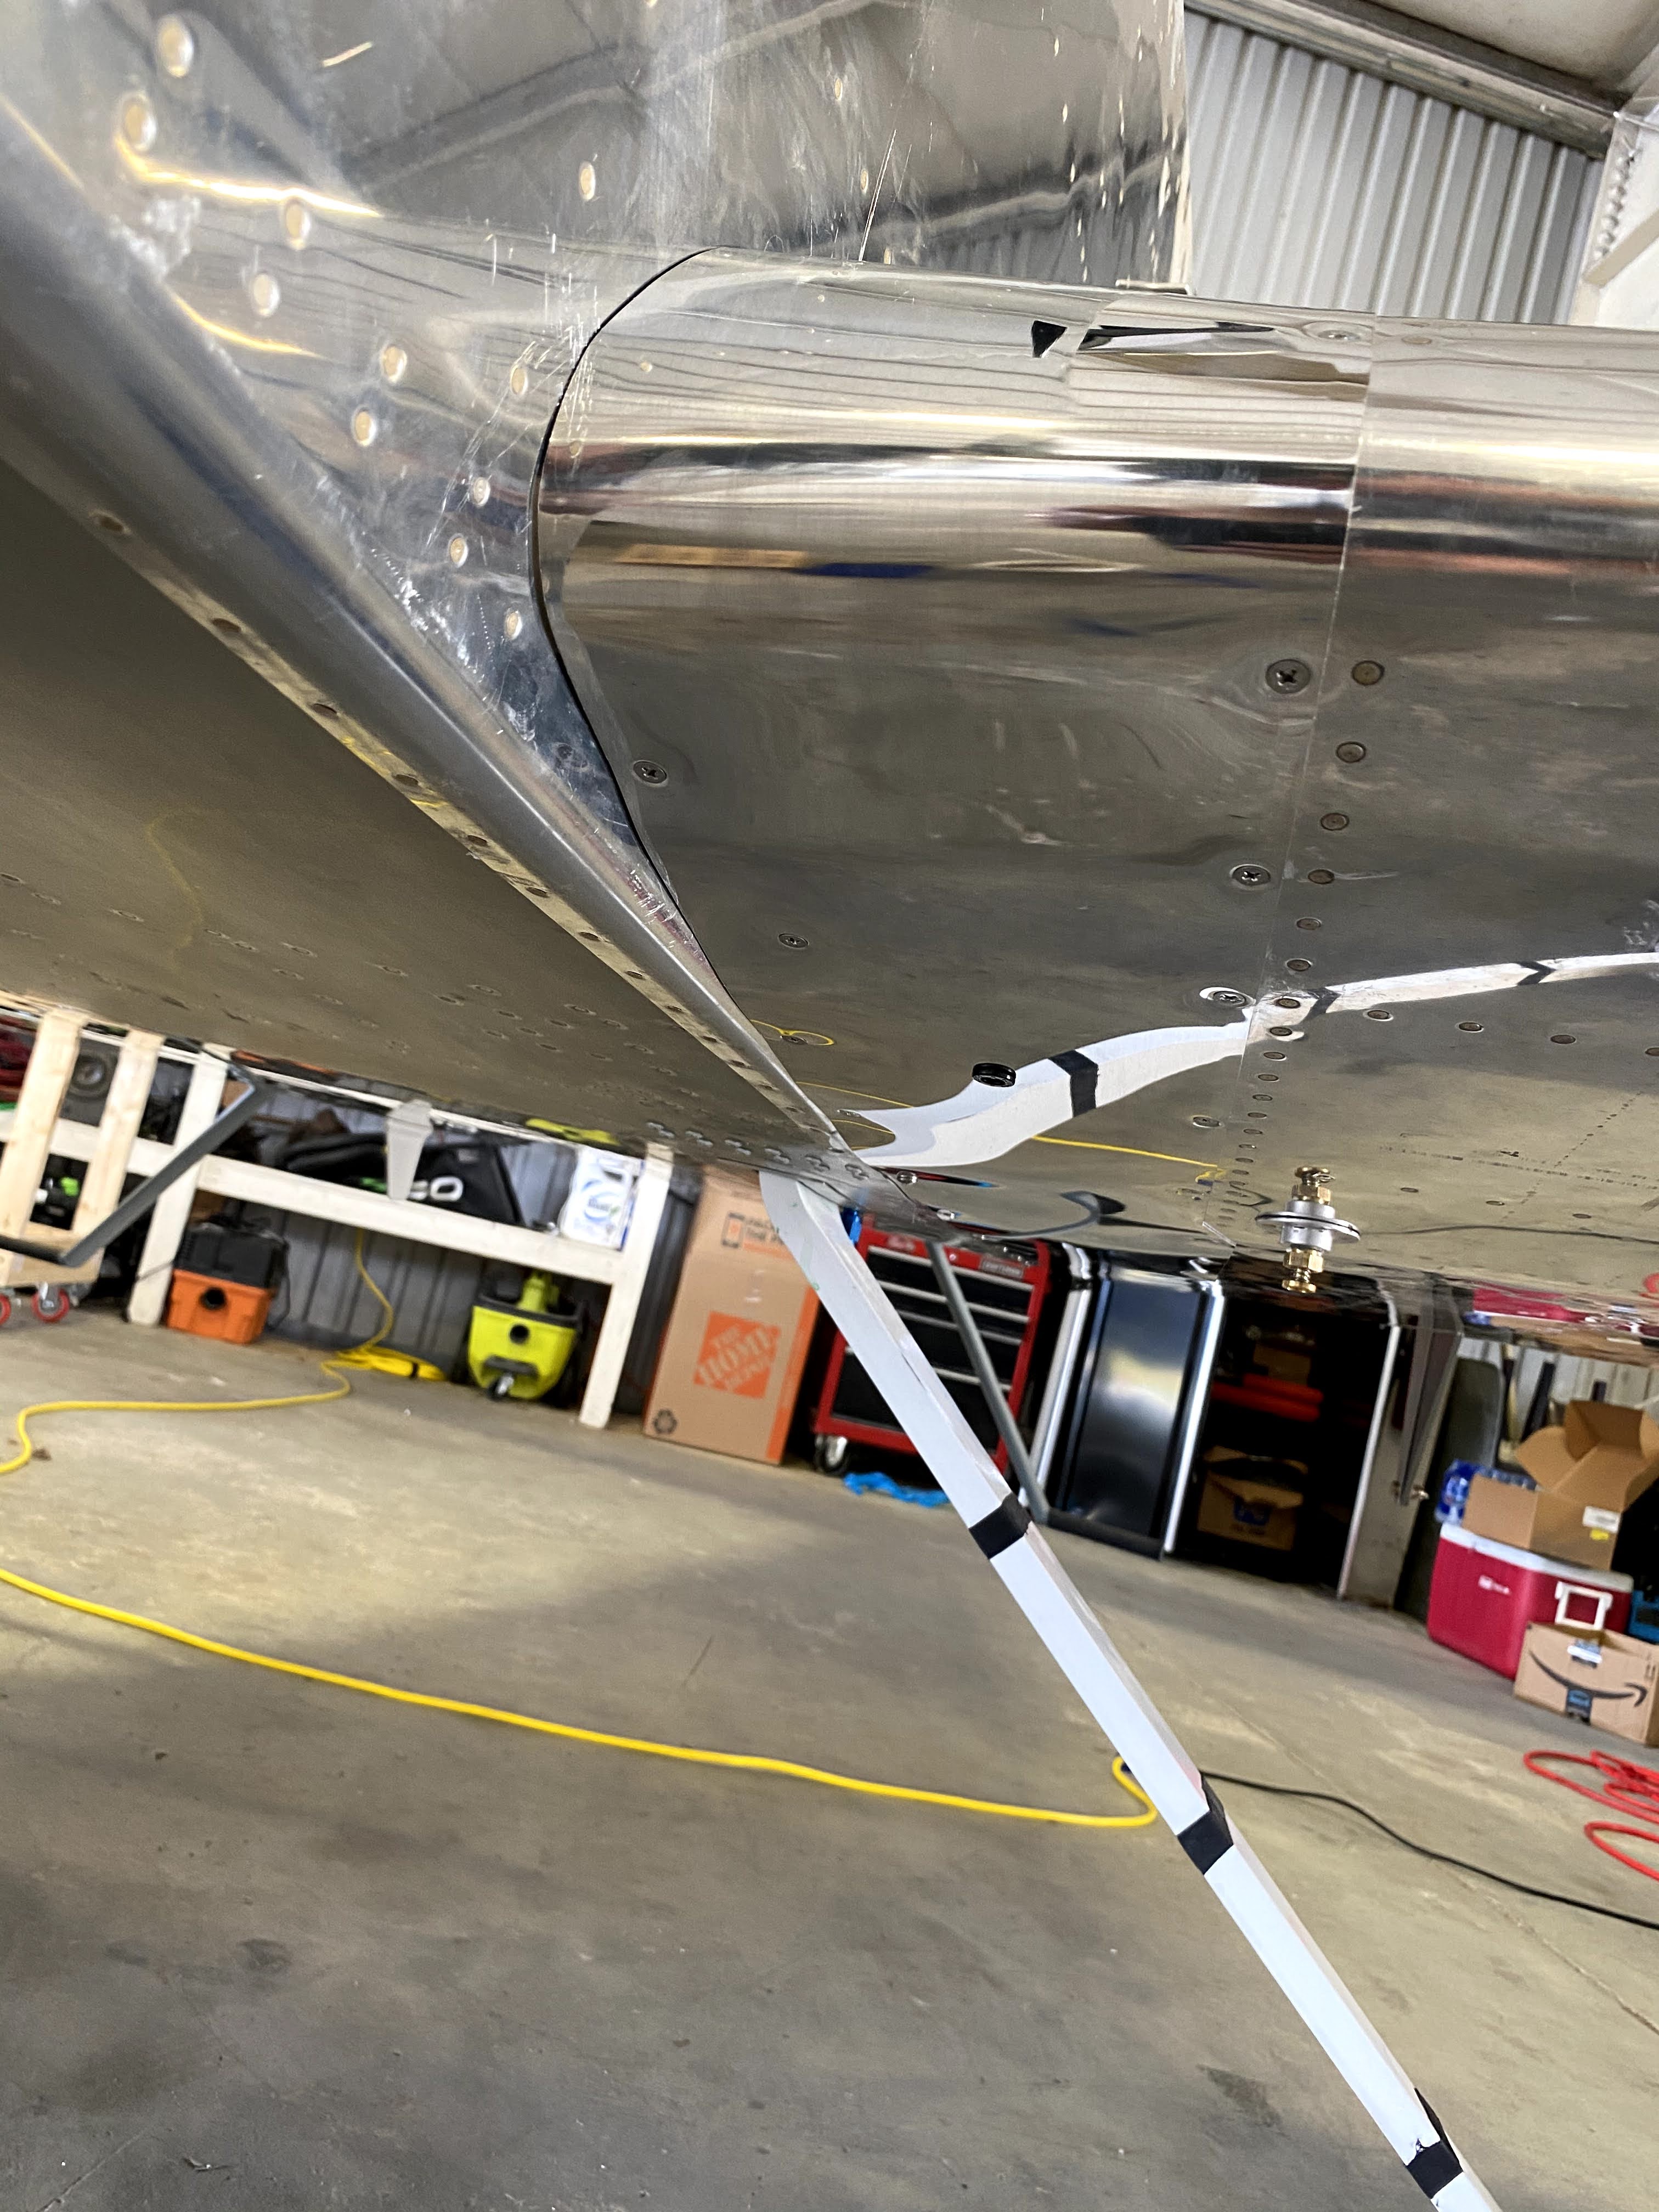
I built and attached the wing root faitings.


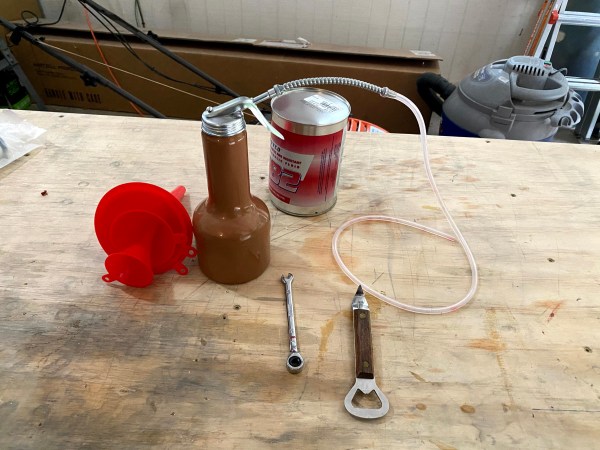
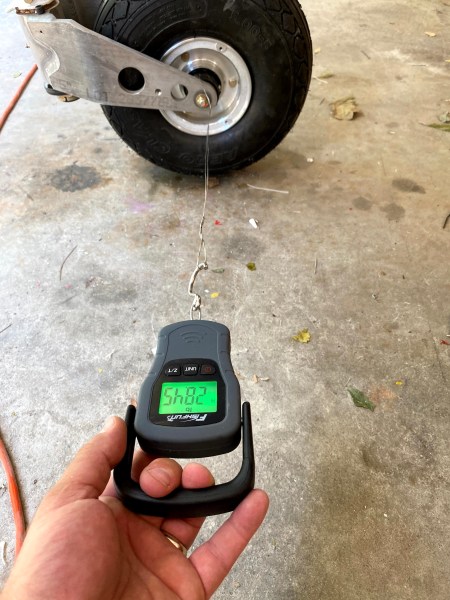
Jared came by and helped with the fuel flow test and first engine start. Sorry I neglected to take pictures. Then I spent the next day or so debugging wiring issues and a million other last minute things that I didn’t take pictures of. I did the ELT test and had the avionics shop on the field do the required transponder test. I was ready for inspection on friday but unfortunately the DAR couldn’t make it. He was flying in and the weather was below minimums. So we rescheduled for Sunday.

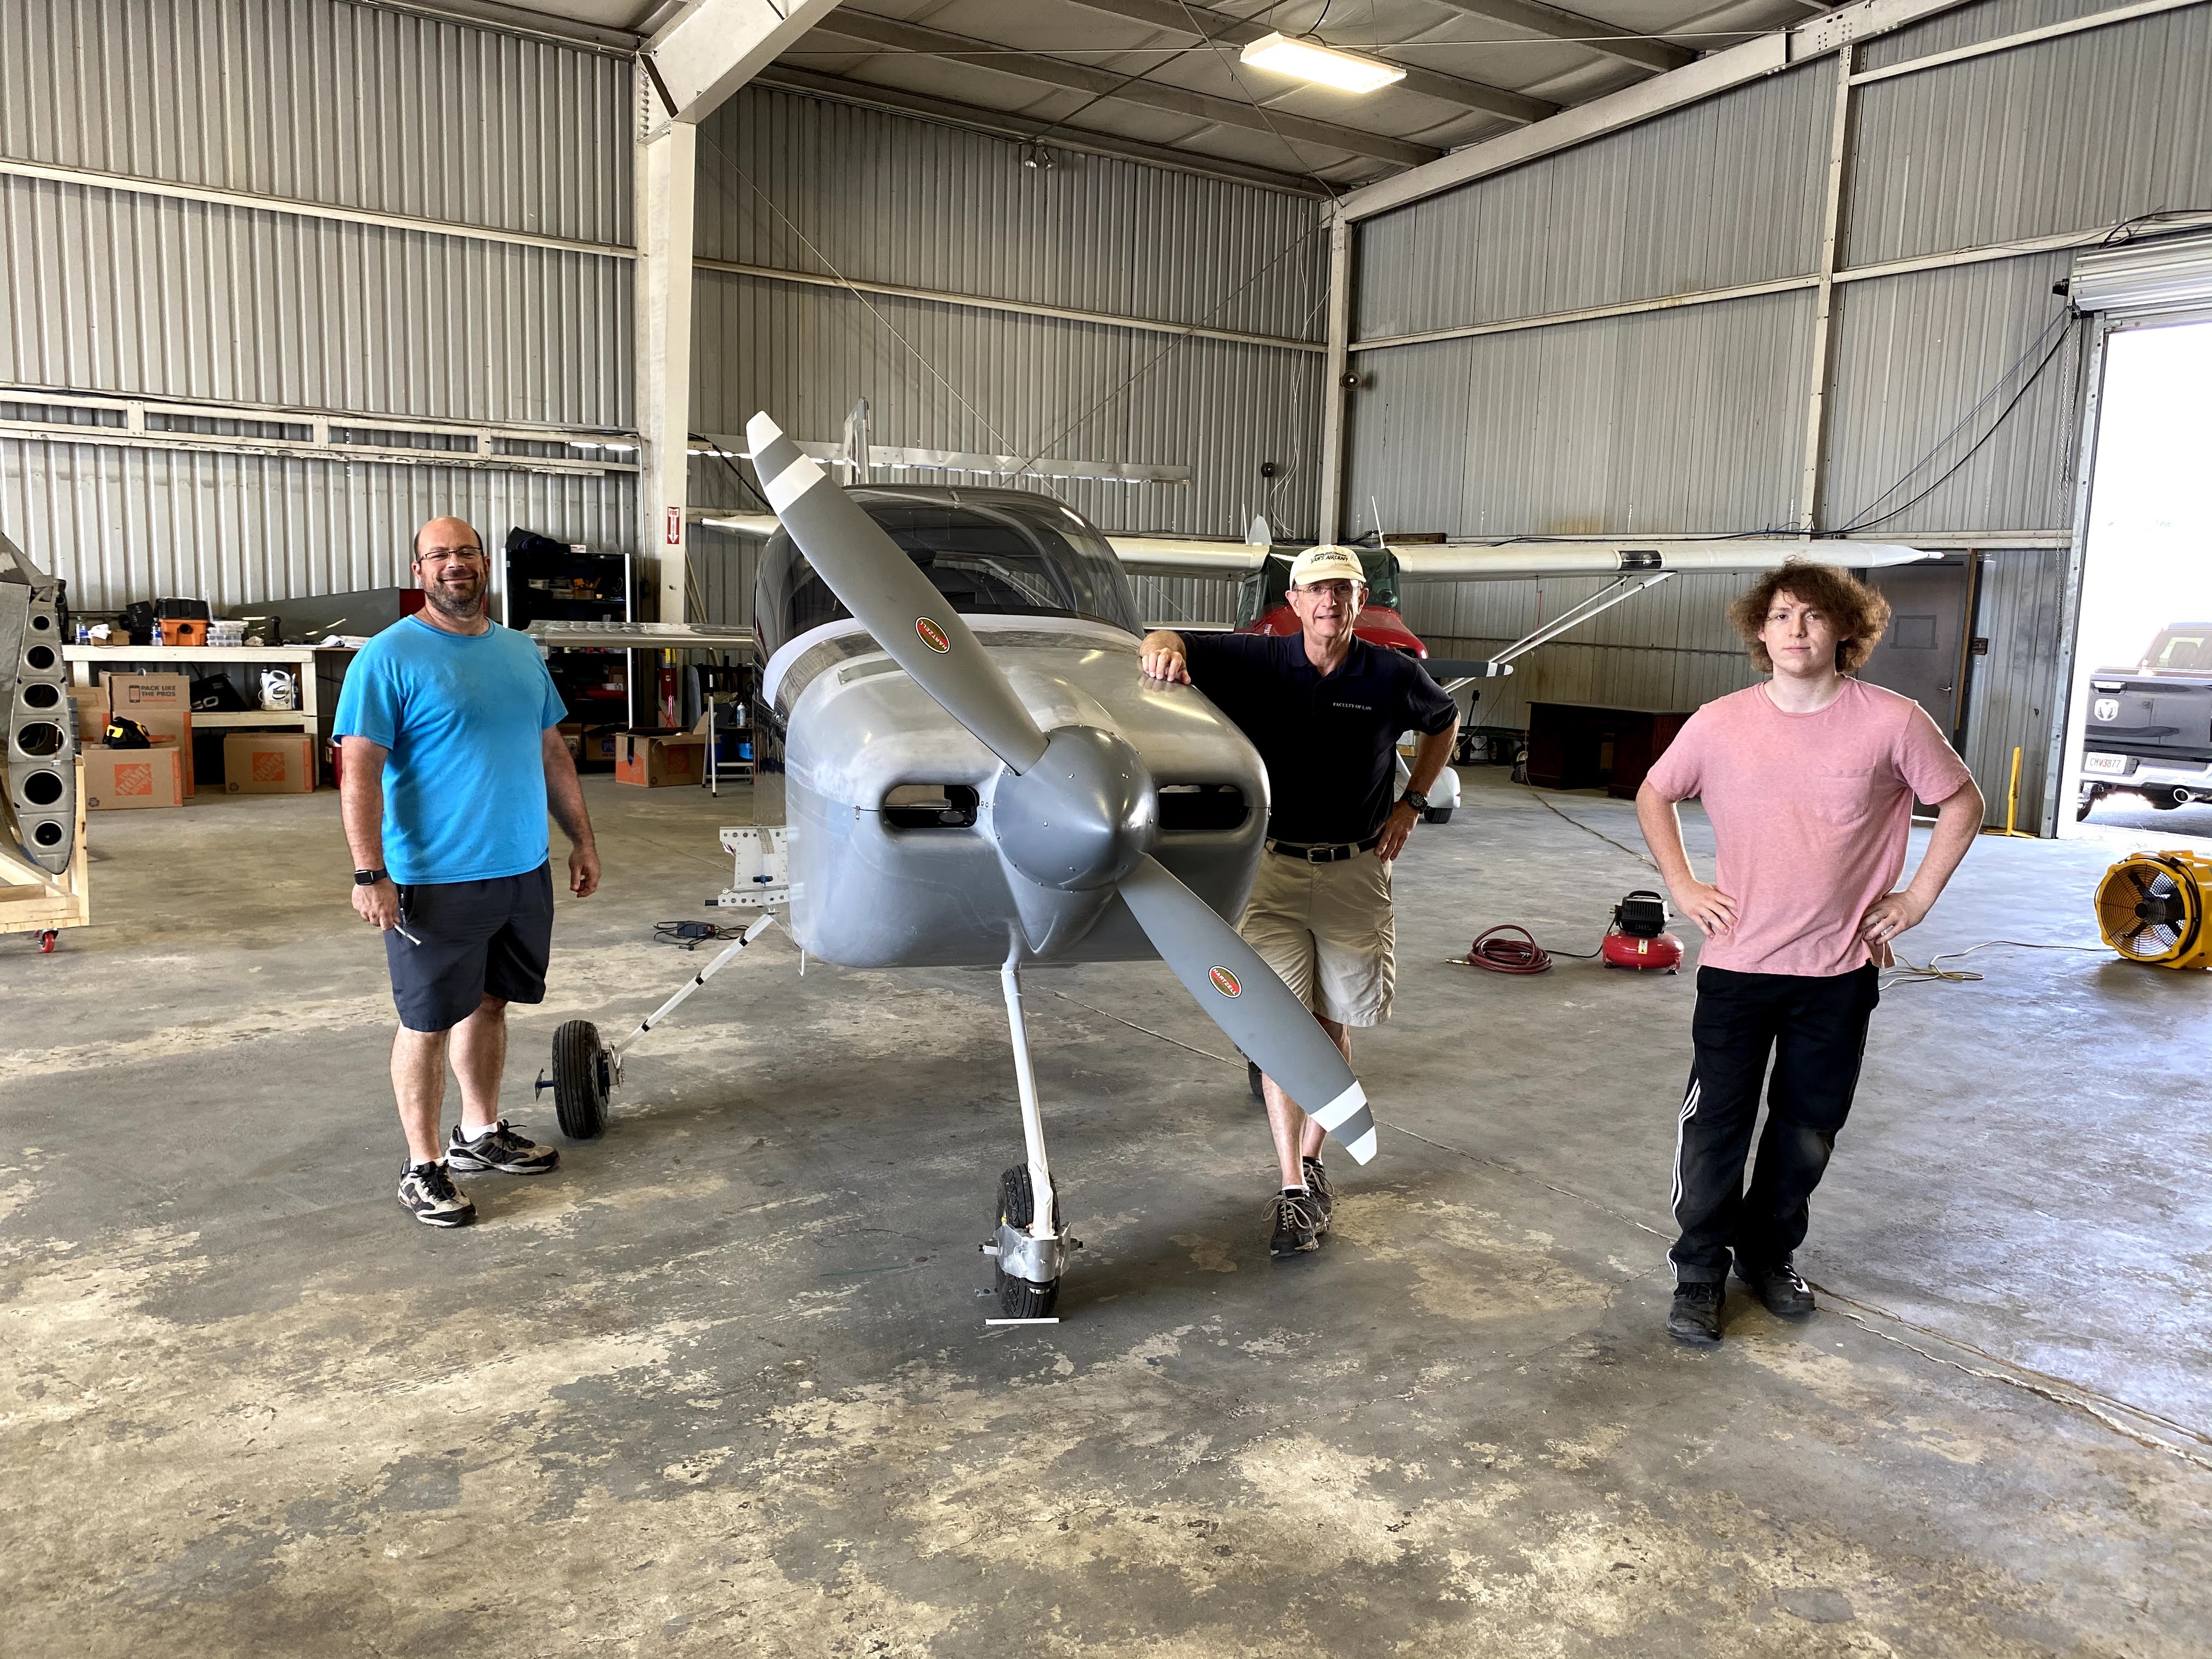
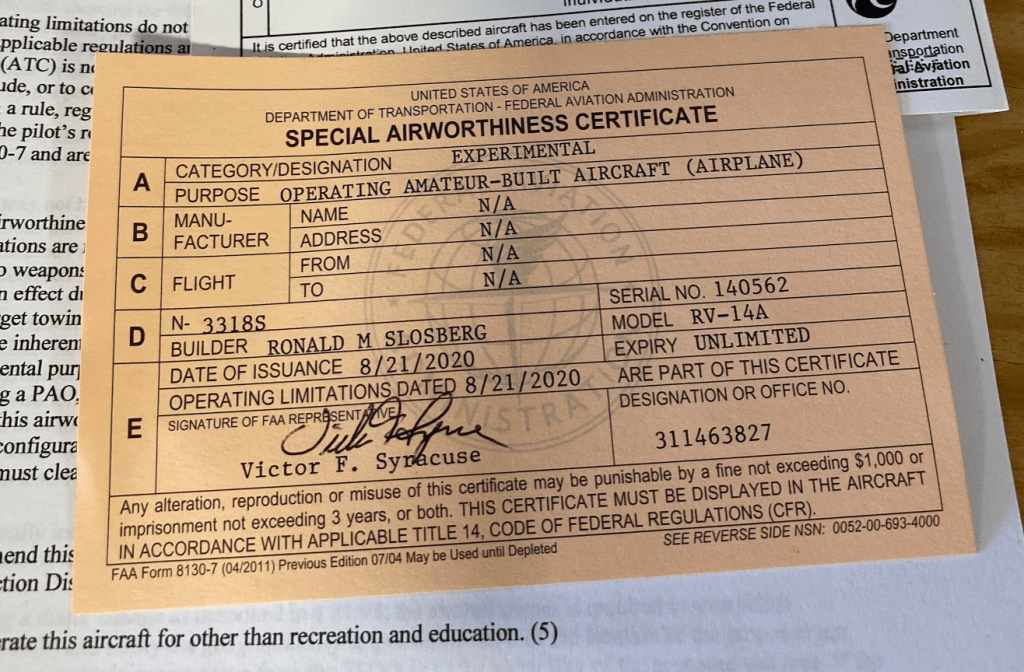
Then today Vic showed up in his RV-10 and after a thorough inspection turned my project into an airplane with the stroke of a pen.

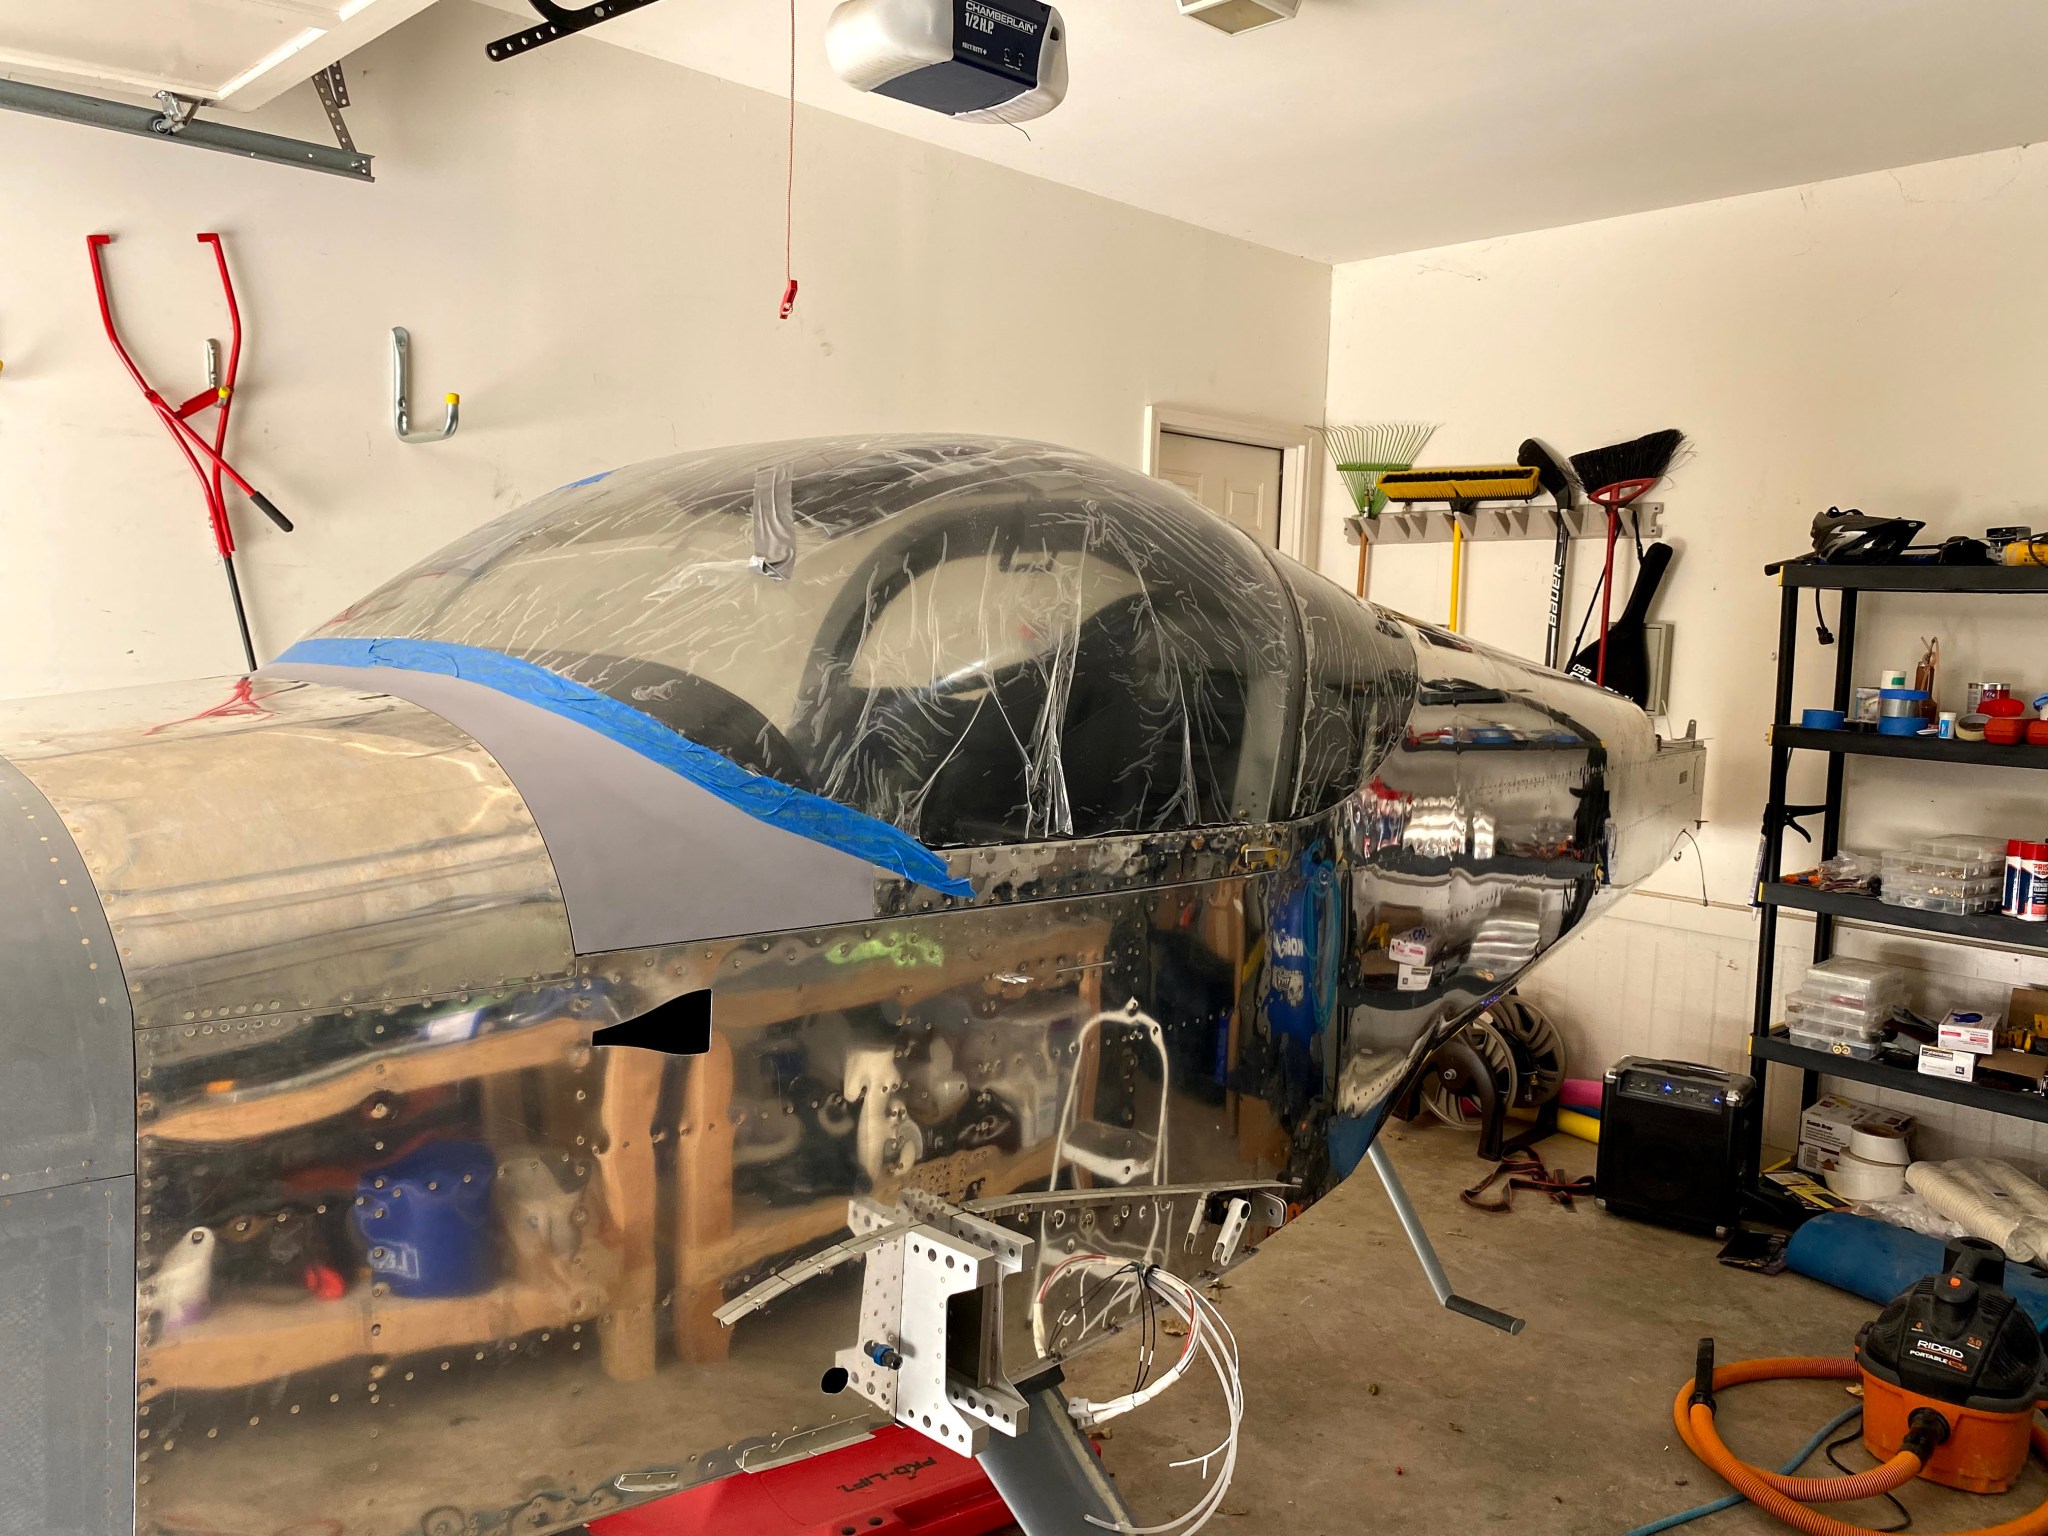
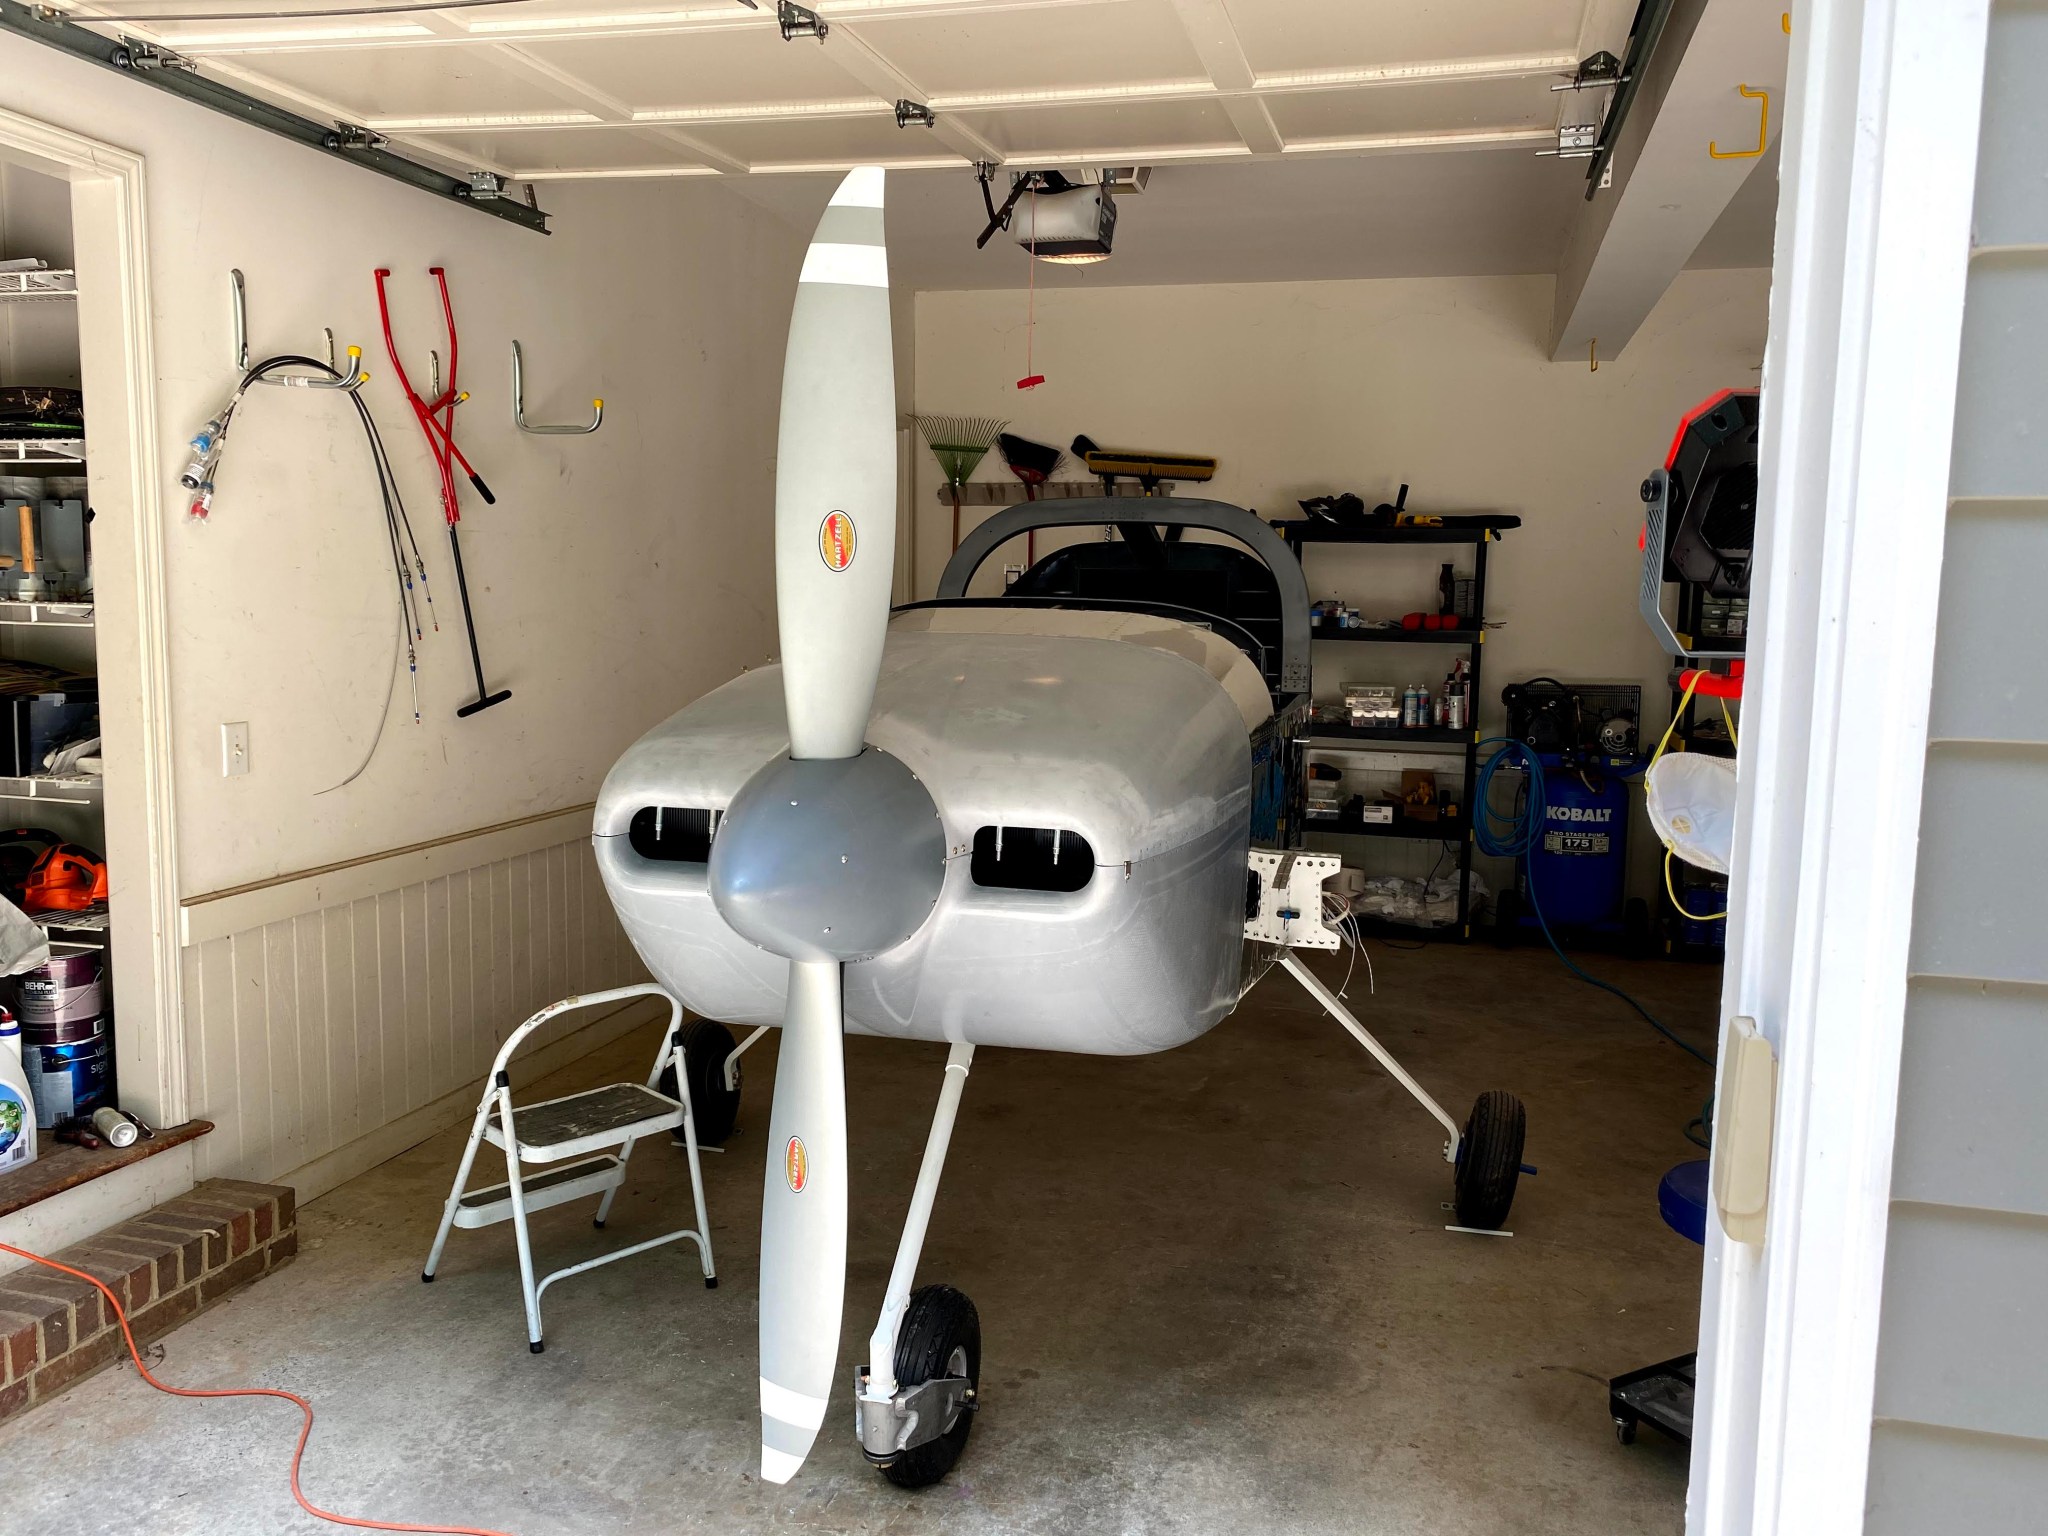
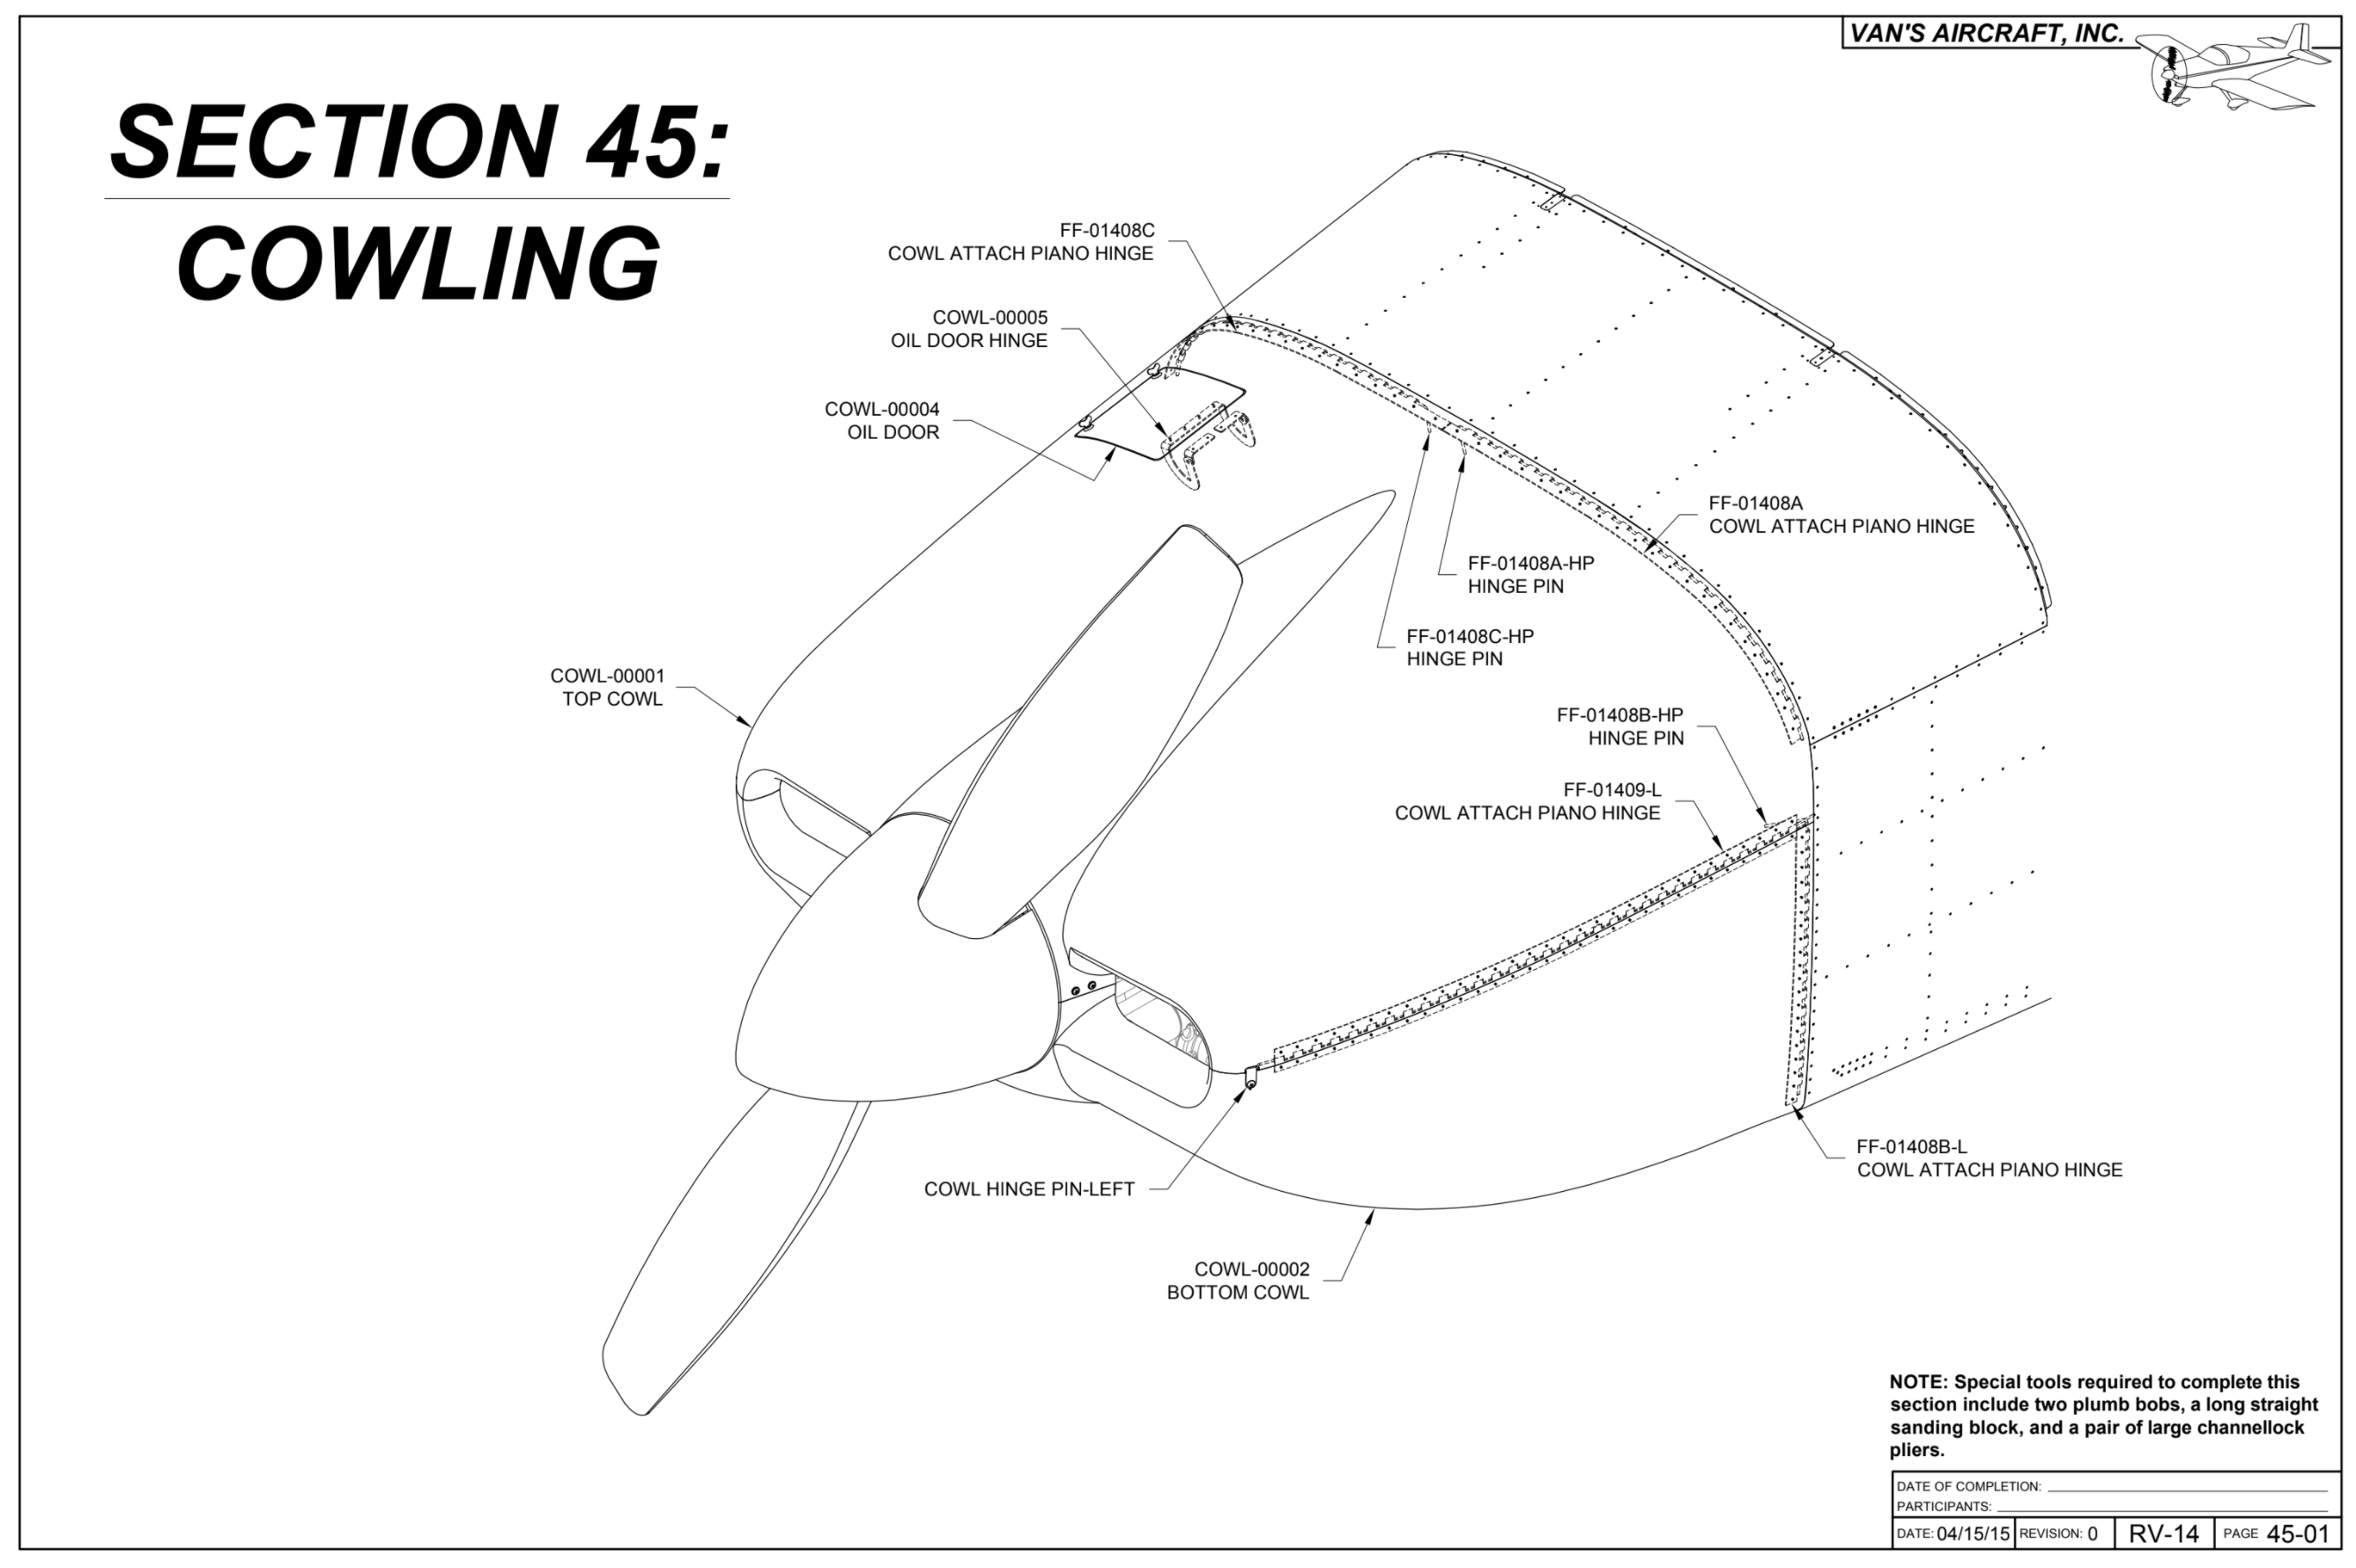
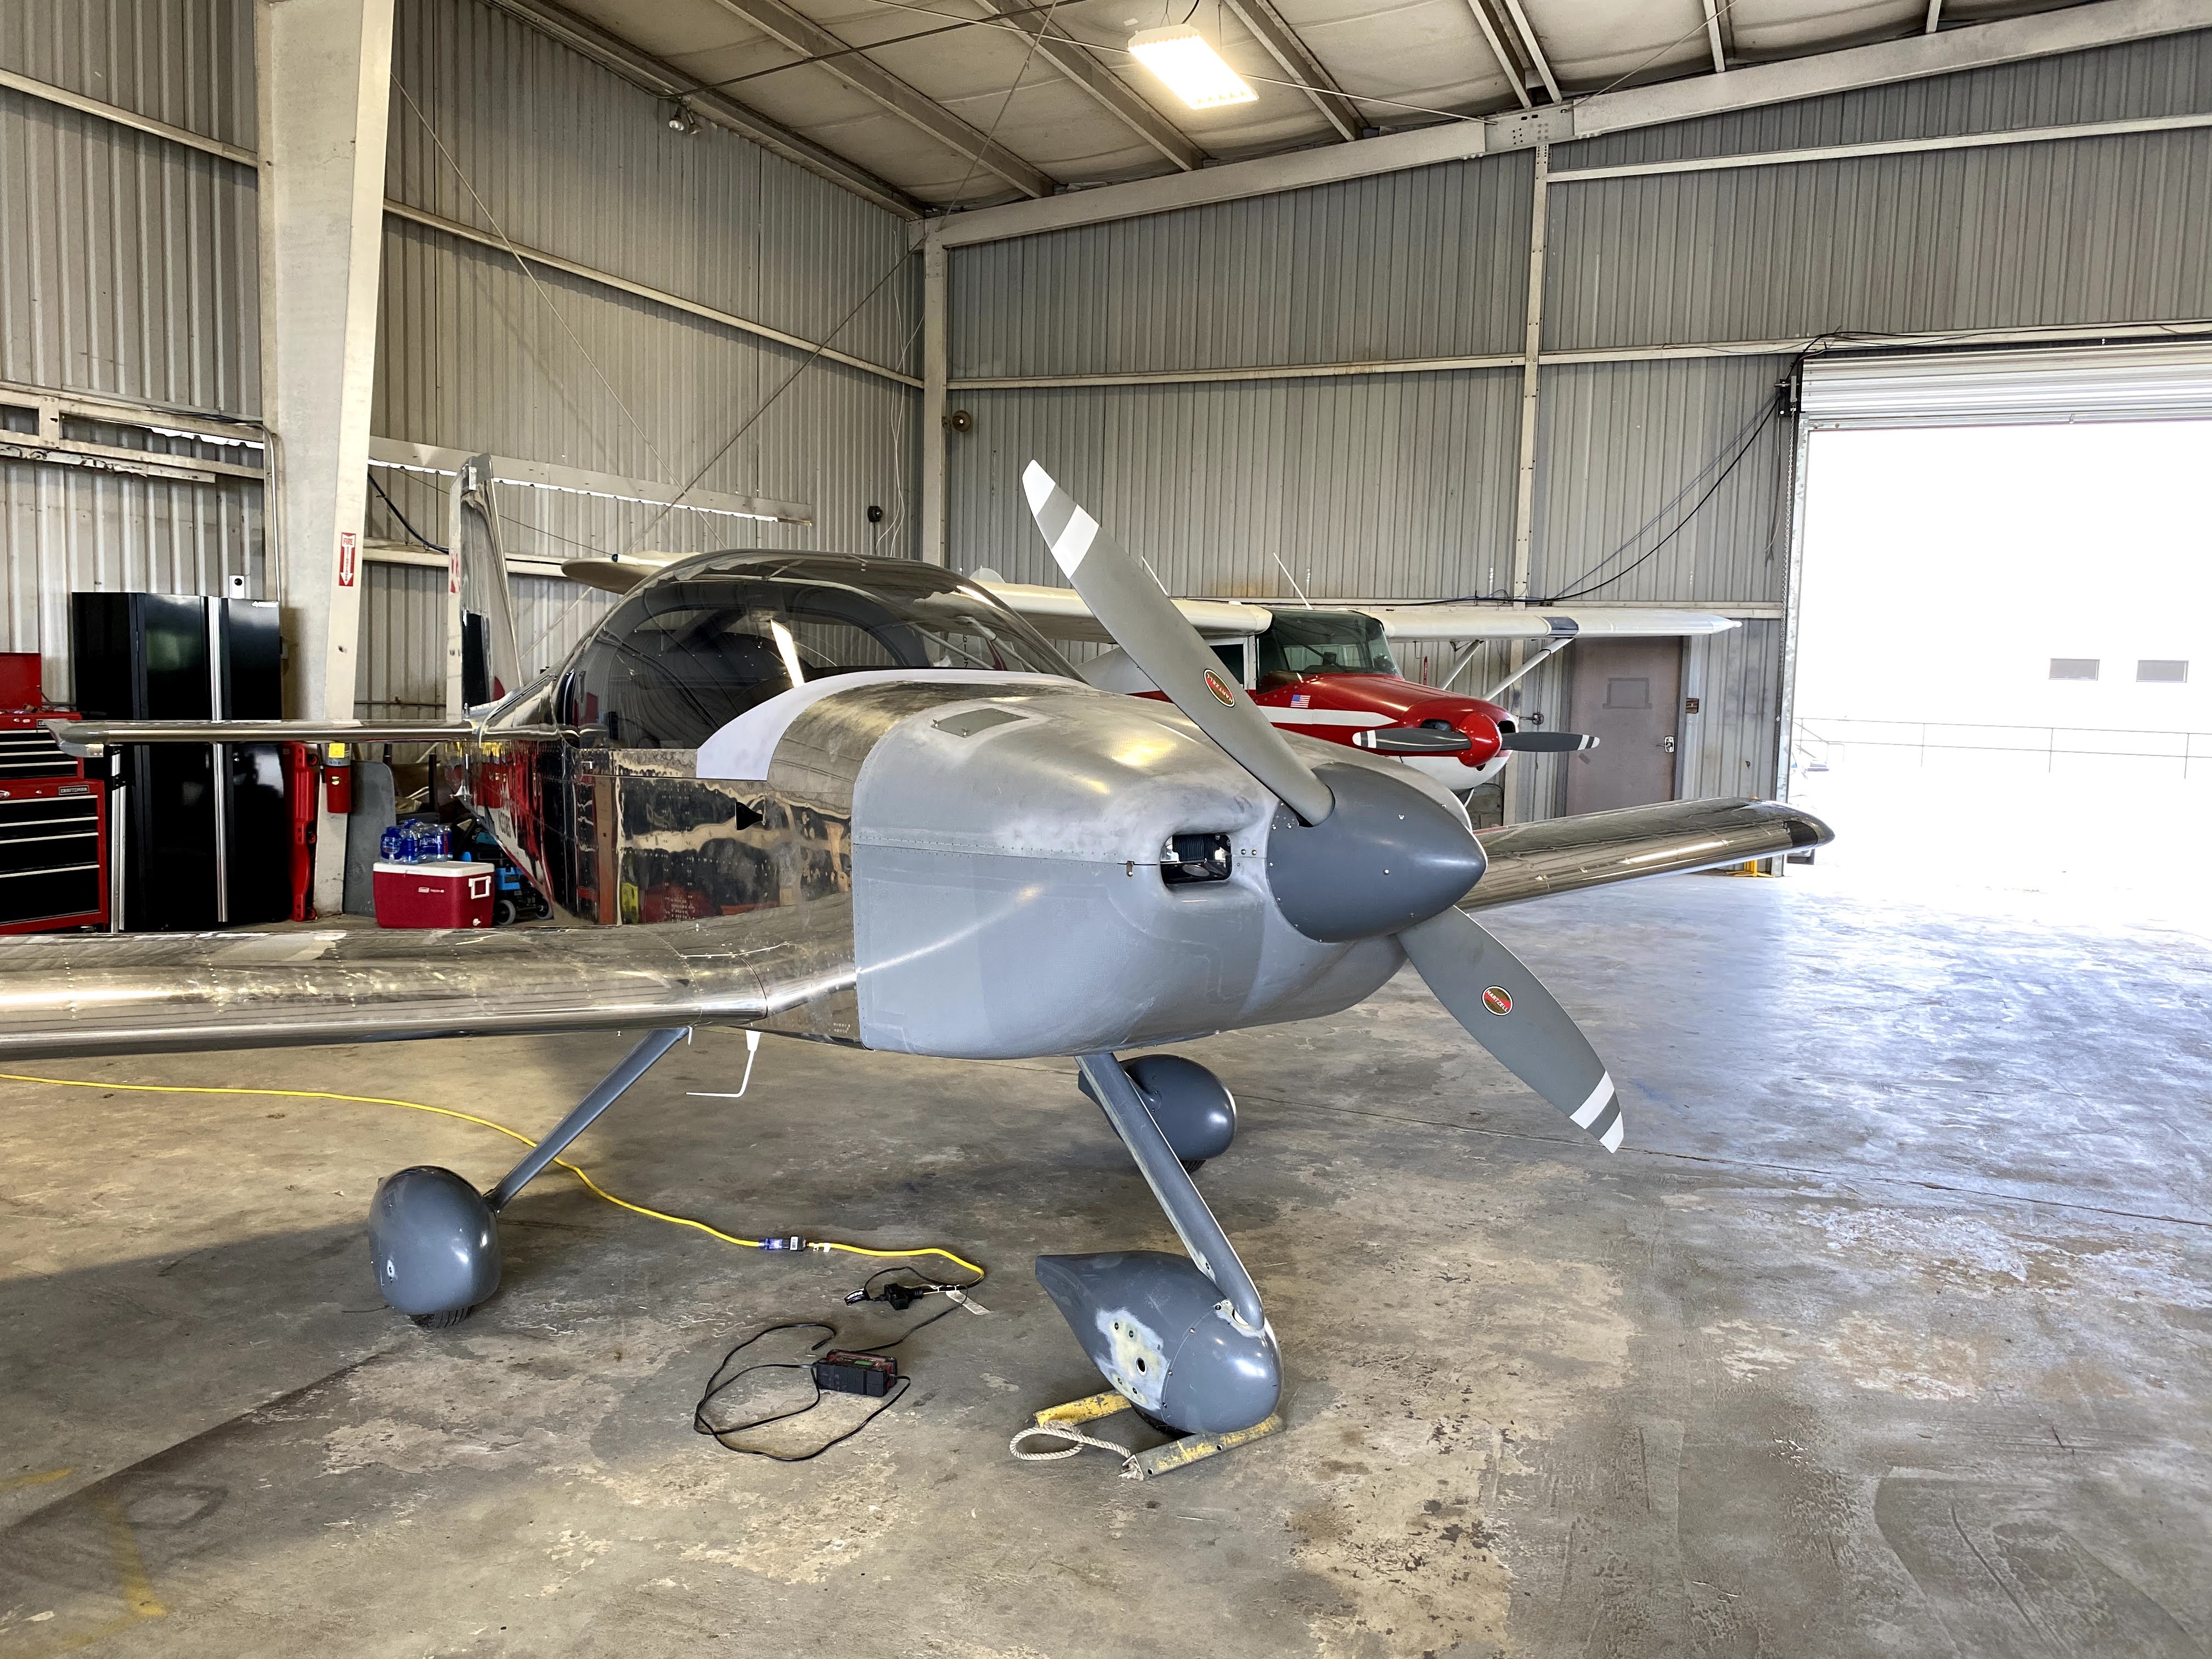
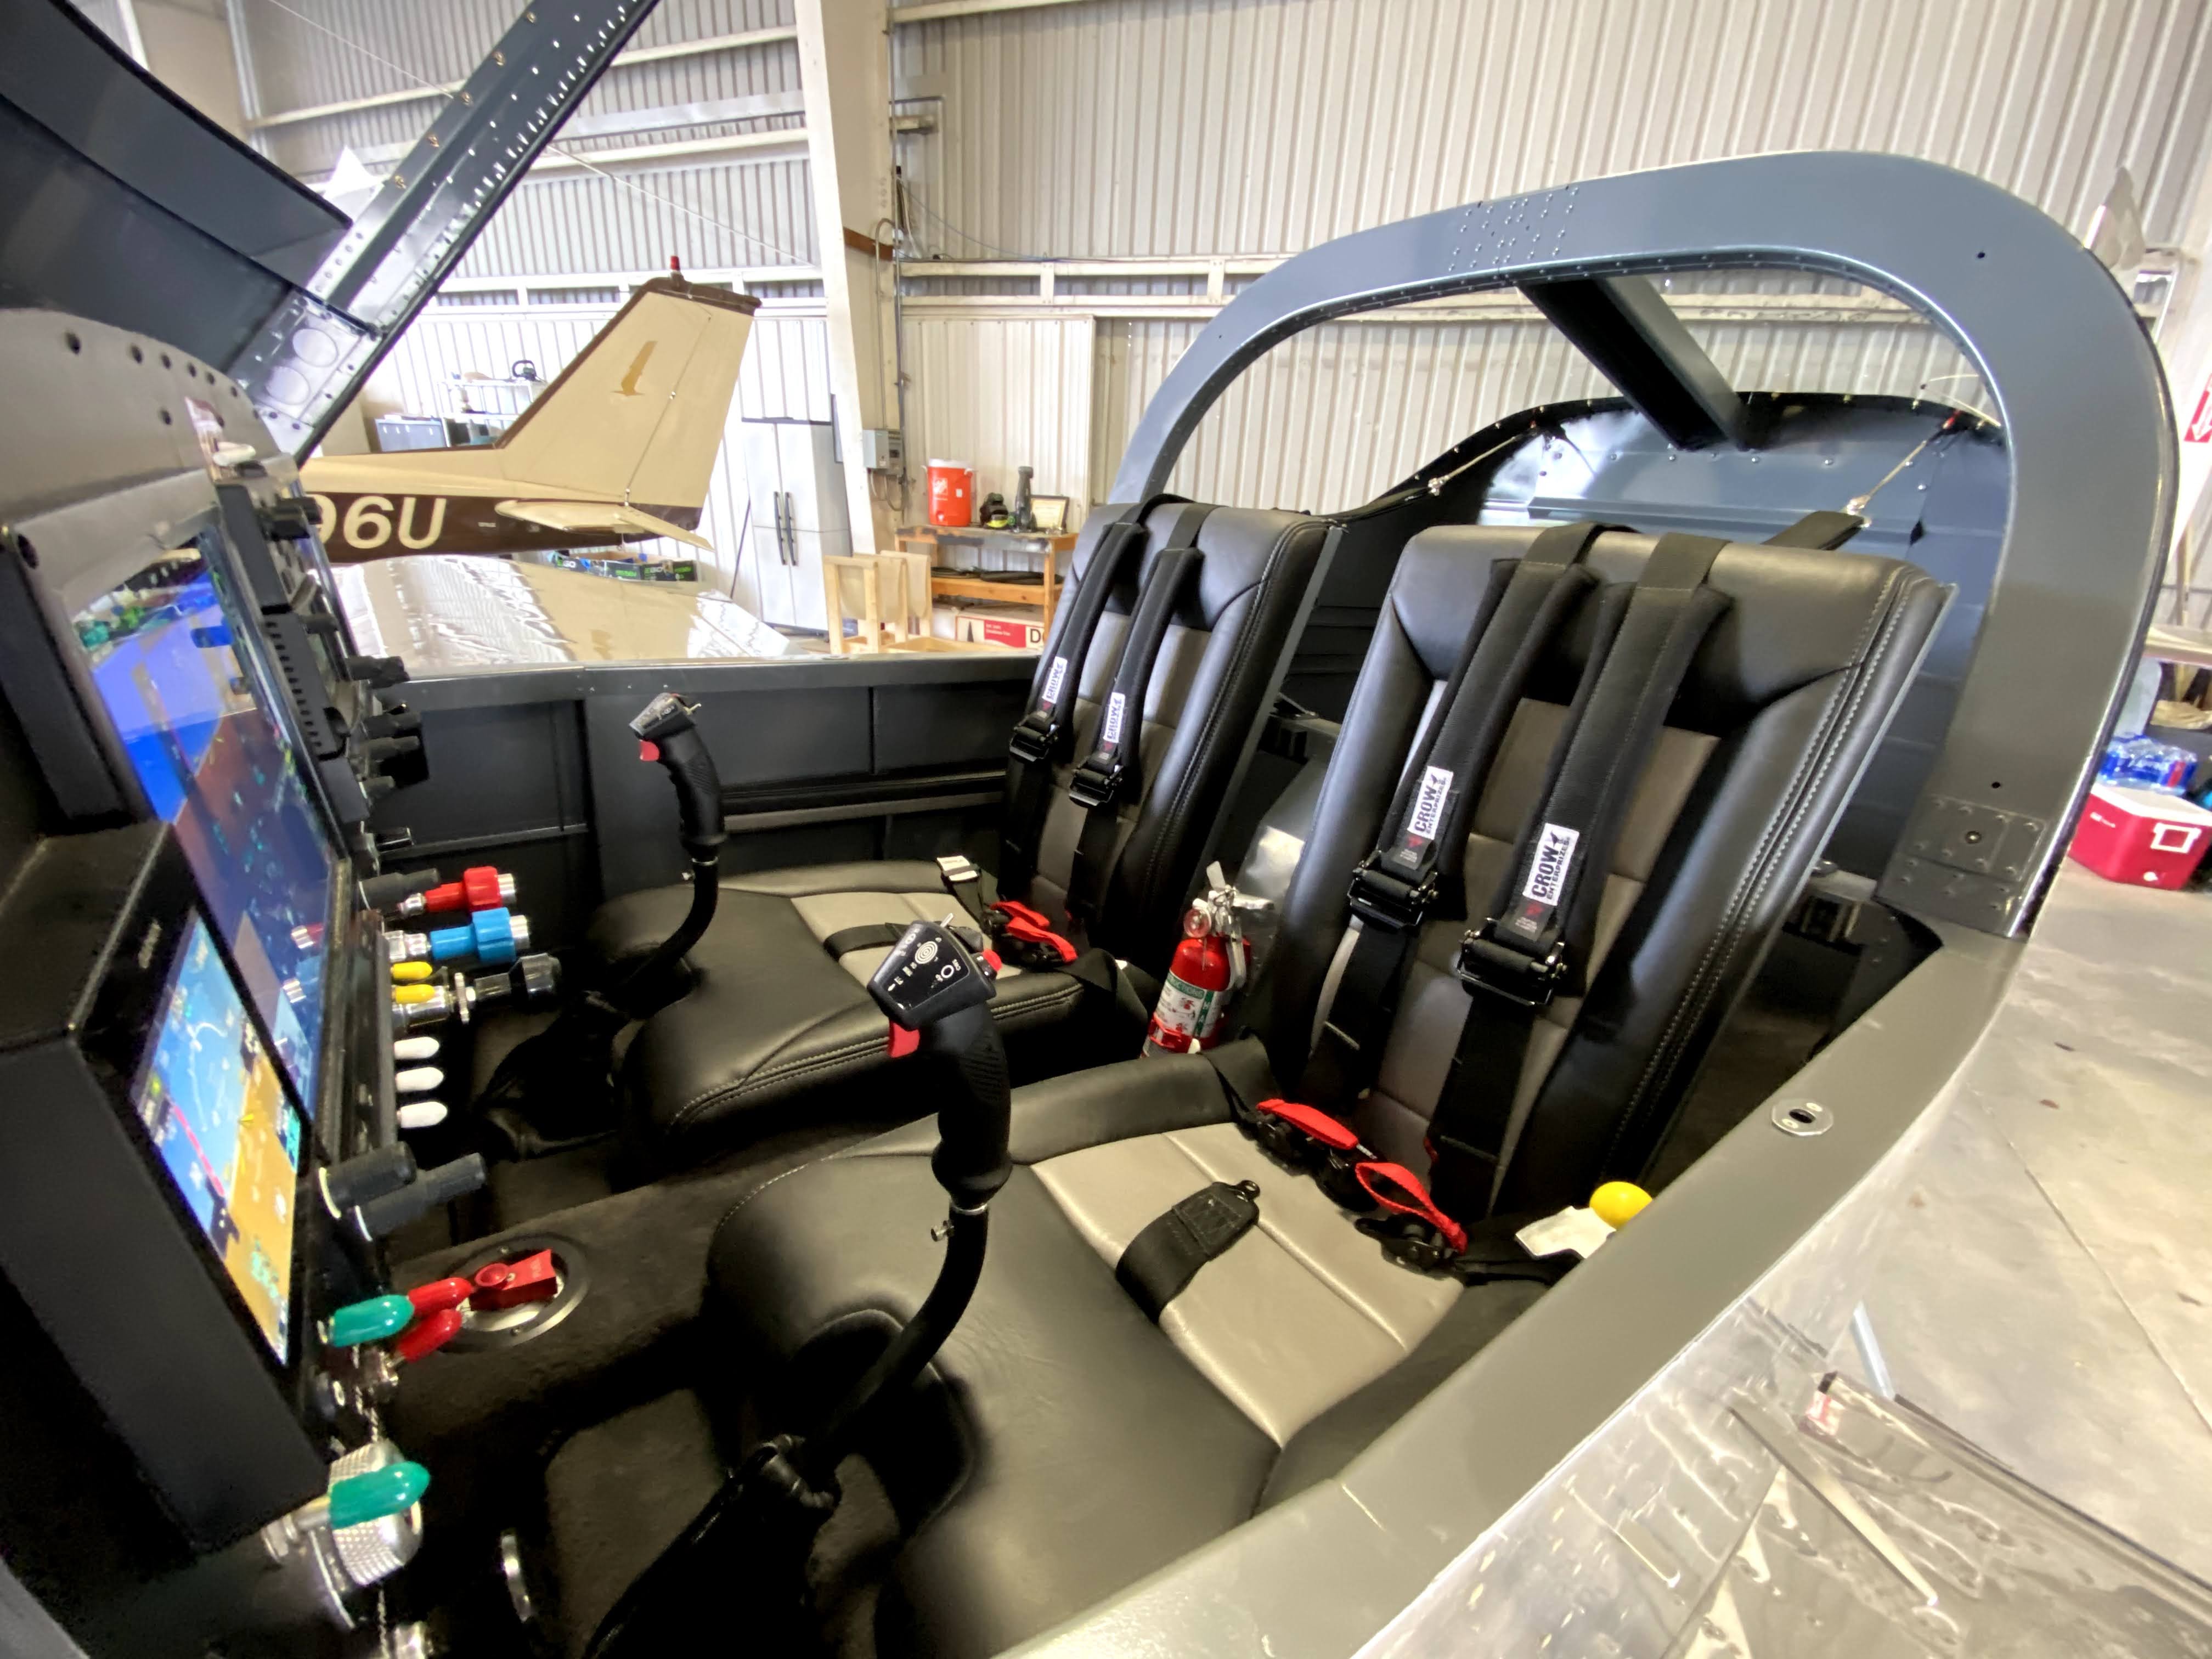
I spent the rest of the day reinstalling the interior, reinstalling inspection covers, and reattaching all the gear and wheel fairings, as well as the cowling; all of which needed to be removed for the inspection.

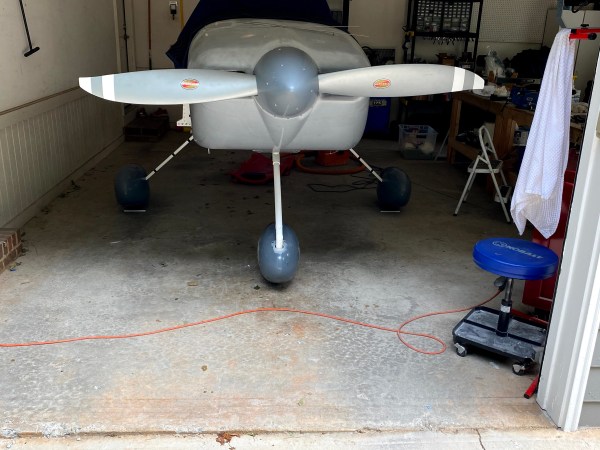
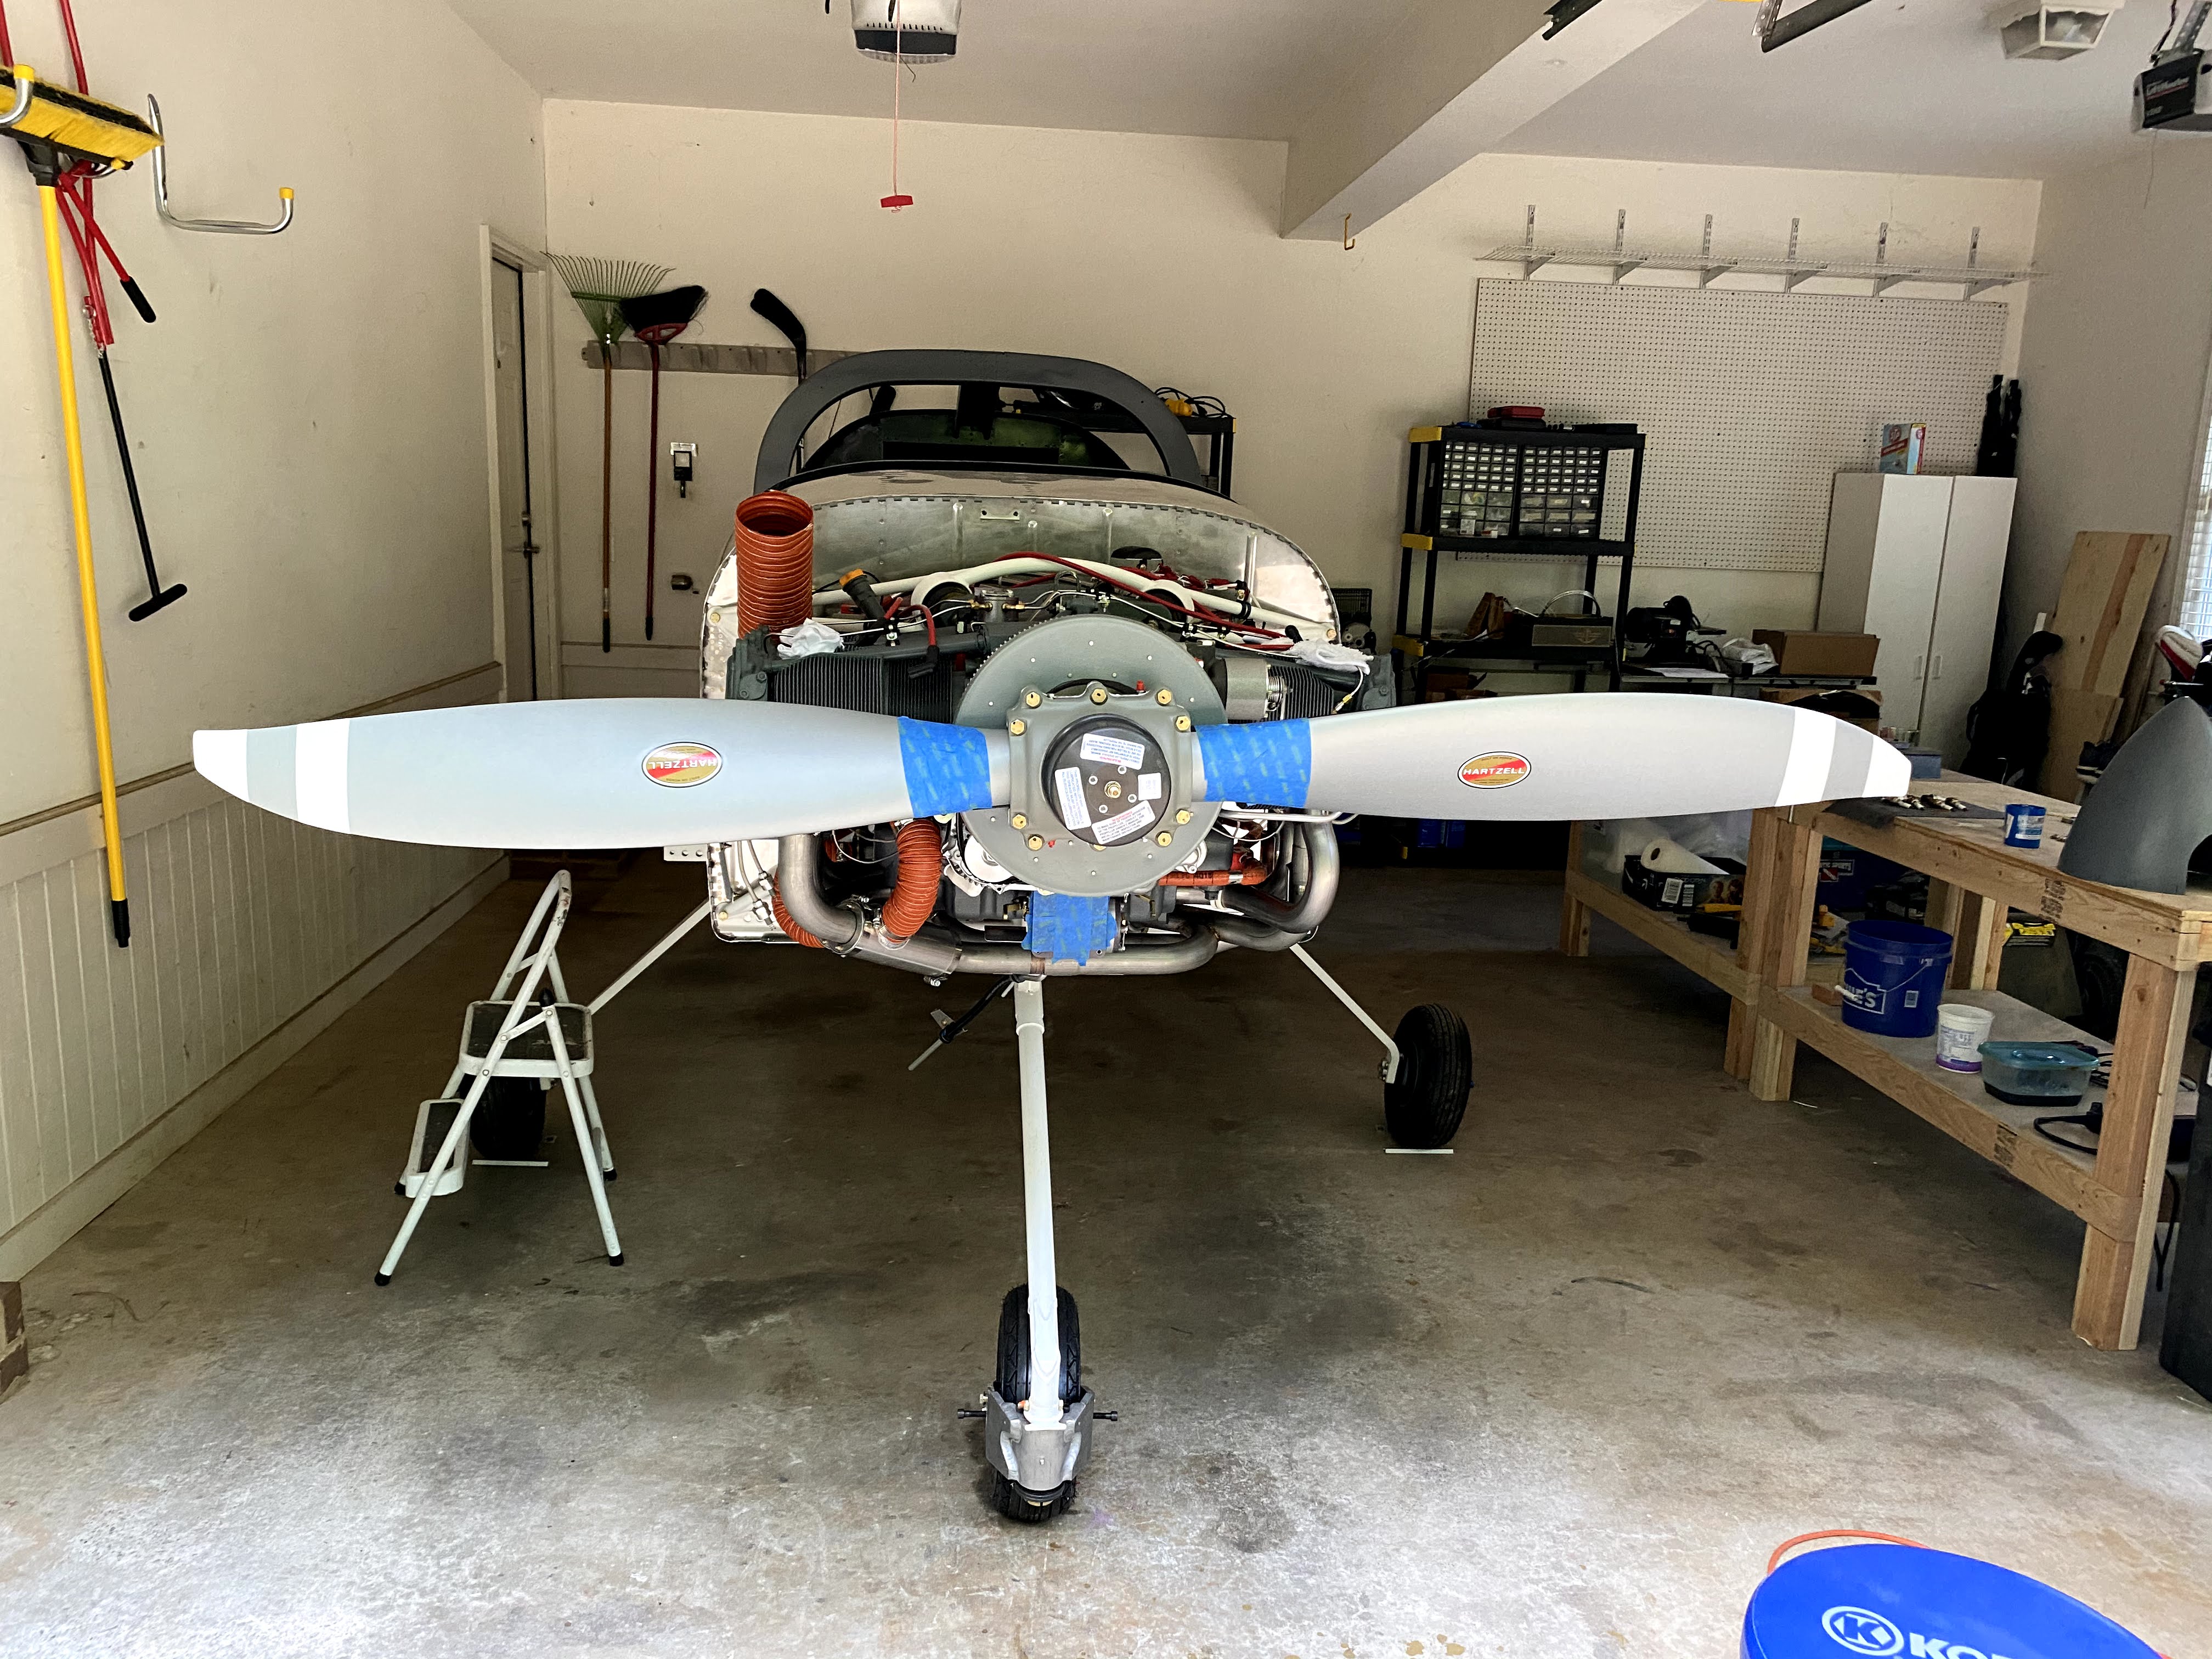
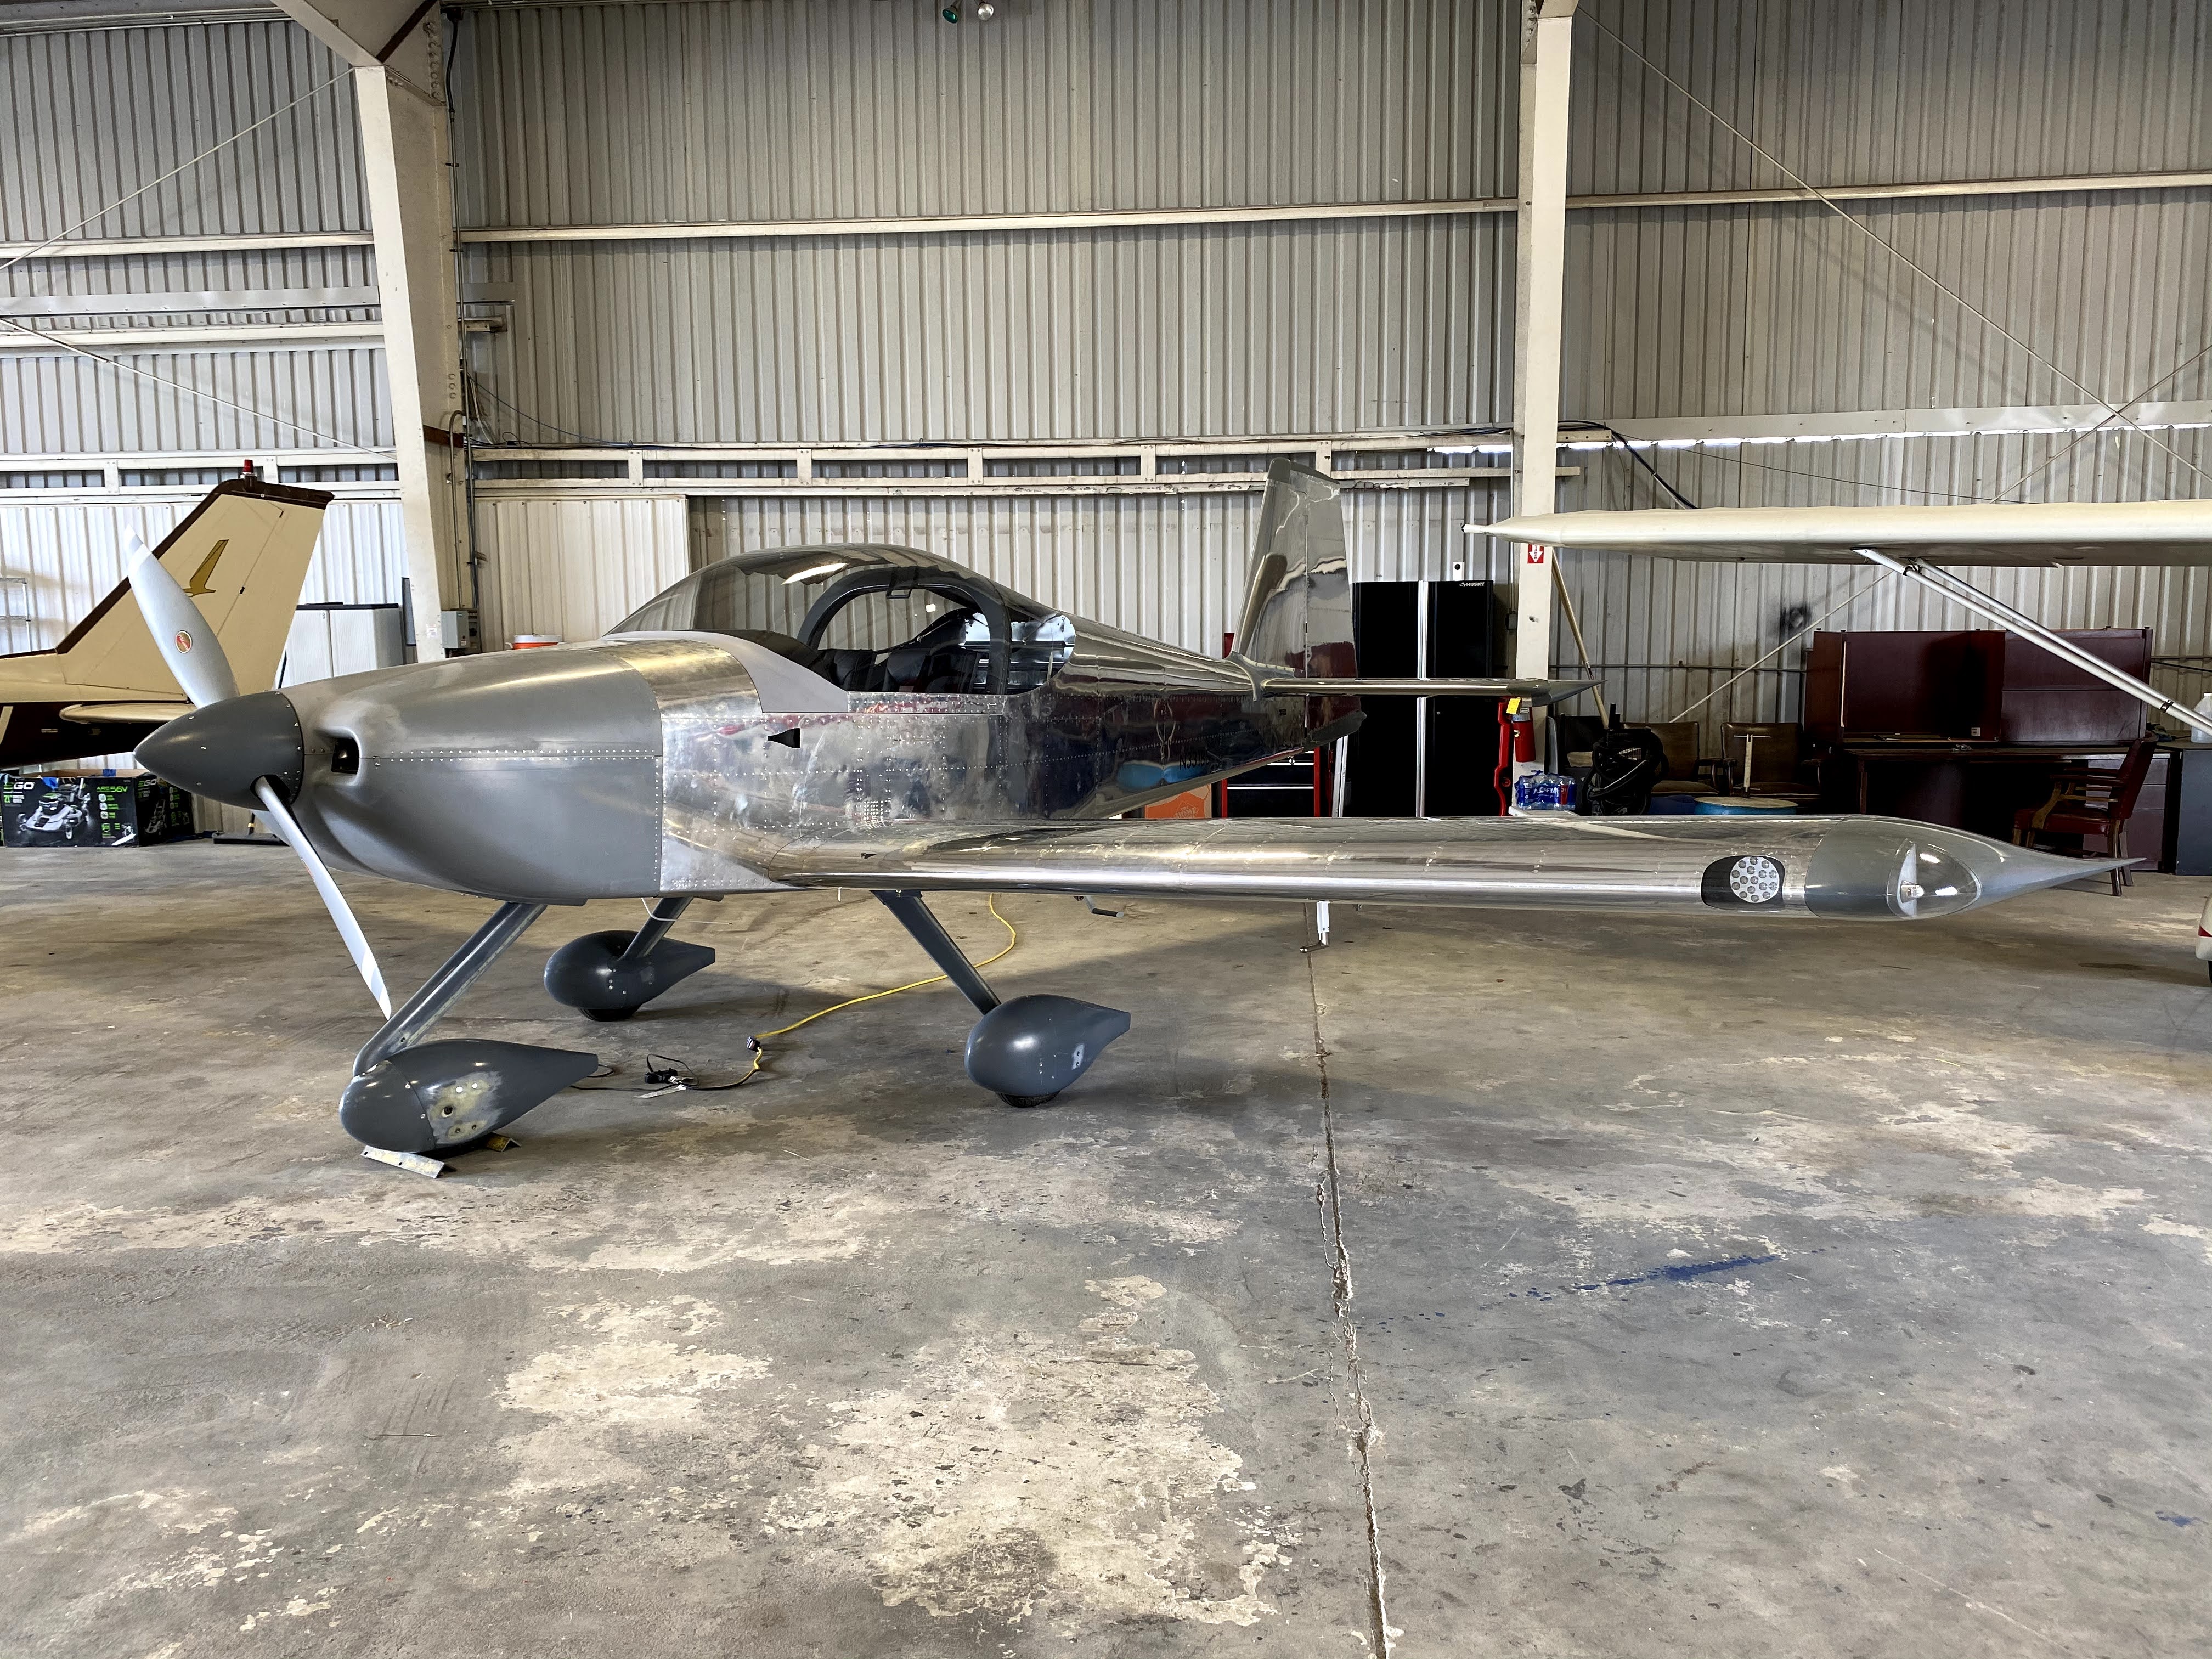
And there she is… ready to fly! I just couldn’t be happier with how everything came together. Van’s Aircraft made an exceptionally well engineered kit that made me look good as a builder. `

Weather permitting, I’ll conduct the first-flight and begin phase 1 flight testing next weekend.

Today’s Time (hours):70.00
Finish kit (hours):495.0
Total Time (hours):1229.0

Finished up the canopy, debugged wiring and configured avionics, started on wing attach.

Been working diligently over the last couple of weekends to complete as much as possible before moving to the airport. I’ve secured a spot in a community hangar at KRYY. I’ve also completed my application for airworthiness certificate and scheduled the inspection with Vic Syracuse, our local DAR.

Installed the rear window. Trimmed and fit the aft edge of the canopy and installed the canopy.

img_5209


Attached the yaw damper bridle cables to the rudder cables.

img_5207


Brought the wings up to the garage from the basement. Installed the wiring for the GMU 11 and the GTP temperature probe. Created test harnesses to attach the wings to the fuselage in order to test the wiring and avionics.


Spent a fair amount of time debugging wiring and configuring the G3X touch system. I had a couple of CAN bus wiring issues that were pretty easily diagnosed and resolved. I had trouble getting the transponder to power up. This one took a while to figure out but I finally got there. I had mis-pinned the power control line in the high density connector. It was off by one pin. I REALLY wish Garmin had put an LED on the GTX 45R. There was no way to determine wither the box was even powering up or whether there was a data issue. Clearly this box was not designed with installation/maintenance in mind. Inconsiderate engineering!


Fabricated the wing to fuselage fuel lines and fuel vent lines. Made up and installed the aileron and flap push rods.


Today’s Time (hours): 32.00
Finish kit (hours): 425.0
Total Time (hours): 1159.0

Completed Tricycle Gear Leg and Wheel Fairings (section 46) and finished installing the interior and empennage fairing

Trimmed and fit the intersection fairings. I reinforced them with flox per the plans. Drilled them out. Installed the nut plates in the wheel pants. Put everything back together. Gear fairing complete!


Prepared and installed the nose gear leg close out.


Mounted the fire extinguisher. Installed all of the carpets with adhesive velcro strips. I really like the Classic Aero carpets. They came with the trim rings for the power outlet and fuel selector. Looks nicely finished. Installed the fancy 3d printed rudder pedal extensions with my N number on them.


Pulled her out into the driveway and mounted the tail feathers. Remy helped me to trim and install the empennage fairing.


Today’s Time (hours): 20.00
Finish kit (hours): 393.0
Total Time (hours): 1127.0

Work continues on Fairings and Interior

Sorry… I’ve been remiss in posting my progress over the last week or so.

After failed attempts at mounting the nose gear fairing using magnets to locate the holes, I re-glassed the the faring to fill the errant holes and and scuffed of the the gel coat in order to locate them visually. This was SOOOOO much easier. I highly recommend not trying to locate the holes with the magnets as per the plans. Just take off the gel coat and do it visually. Save yourself a lot of time and heart ache.


Finished up the main and nose gear fairings.


img_5154


Followed the plans to mount trim up the nose leg fairing and install the hinge that holds it together.


Installed the nose leg fairing.


Followed a similar process for the main leg fairings. Note the scuffed off gel coat where I needed to match drill… fool me once…


Installed the Crow five-point restraint system.


Deburred, prepped, painted and installed the interior panels… Flap motor housing, seat ramps, control column covers, the center cover that came with the Classic Aero carpets, etc.


Had to fabricate a new version of the mounting panel and cover for the fuse block. The one I originally made held the fuse block too low and when I installed the tunnel cover, it interfered with the lower power stud of the fuse black and would have created a short circuit.


Today’s Time (hours): 36.0
Finish kit (hours): 373.0
Total Time (hours): 1107.0

Started Tricycle Gear Leg and wheel Fairings (Section 46A) and other misc stuff.

Screen Shot 2020-07-05 at 8.49.03 PM


Filled and bled the brakes. Used a pump type oiler to fill the system from the bleeder valves.

img_5087


Installed my data plate and N number. I made the N number out of vinyl using my Cricut vinyl cutter. I ordered the data plate from https://www.engravers.net/.


Installed the com and transponder antennas.


Can you tell I’ve been procrastinating at the prospect of starting another fiber glass project? Trimmed and fit the forward and aft halves of the main gear fairings. Cut the hole for the gear legs. Deburred and primed all of the gear brackets. Machine countersunk the main gear brackets and riveted the nut plates on. Had to pause on the Main gear Legs. Couldn’t find the AN3H-3A bolts to mount the brackets anywhere. Ordered new ones from spruce and turned my attention to the nose gear.


Fabricated the nose gear stand-offs using an angle grinder, a file and the drill press.


Made a minor mod to the garage. Installed a D-ring so that I could use a ratchet strap to the tail tie-down ring to lift the nose wheel.


I set the breakout force on the nose gear using a digital fish scale and some safety wire.

img_5113


I upgraded the nose gear axle to the Matco one. This place an extra AN3 bolt through the gear fork. It interfered with the right wheel fairing bracket. So I cut a bit out to make room.


Trimmed the nose gear fairing halves, fit and match drilled them together. Mounted it on the brackets and futzed with the whole thing for a while to get it straight.  Used a plumb bob to drop a longitudinal reference line to the floor. Had to use magnets to transfer the hole locations. They kept moving. Drilled multiple extra holes that I’ll have to fill later. Pure fuckery but managed to get everything situated reasonably straight.


Today’s Time (hours): 14.0
Finish kit (hours): 337.0
Total Time (hours): 1071.0

Installed brakes, sealed firewall, finished cowls and baffles

Sealed up the firewall pass throughs. I followed the Van’s instructions on the left side using fire sleeve and RTV. It was challenging to get the fire sleeve stuffed into the fitting around the wire and also to safety wire the outer sleeve in place. Big hands. Small spaces. On the right side, there was no way I was going to be able to get my hands into the space necessary to take this same approach. I was able to form a cone around the cables/wires with tape. I then used a calking gun to fill the void with 3M Fire Barrier 2000+. The tape on the forward side formed a mold to force the sealant between all of the wires. Made a huge mess but it worked.


Installed AN fittings into brake calipers. Fabricated the brake lines and installed.


Finished installing the baffle seals on the cowling and installed the cowling back on the airplane.


I also spent some time tidying up the wiring under the panel and installing the adel clamps and wire ties on the control cables.


Today’s Time (hours): 10.0
Finish kit (hours): 323.0
Total Time (hours): 1057.0

Completed Cowling

Drilled the screw holes on the bottom of the cowling

img_4953


Attached the inlet ramps with epoxy and flox. Filled, sanded and sealed the areas where the baffle seals will seal against the top cowl.


Installed the heat shield foil in the lower cowl and sealed the edges with epoxy.

img_4958


Today’s Time (hours): 10.0
Finish kit (hours): 277.0
Total Time (hours): 1011.0

Work on cowl continues

Match drilled the top and bottom cowls to the cowl hinges.


I disassembled the cowls, deburred all the holes in all the hinges. I coated the inside of both cowl halves with thin coating of resin to seal it all up.

img_4851


Riveted all the hinges to the cowl halves


Trimmed and sanded the fiberglass inlet ramps and fit them to the top cowl. They gat match drilled to the cowl core just deep enough to hold a cleco to clamp it in place for bonding with epoxy and flox. I didn’t get any pics of the bonding process and I put it back on the fuse to cure before I could get a shot of the finished product.


I did decide to get the oil door done once the epoxy set up sufficiently. It was a pretty straightforward process.


I reinstalled the spinner. She’s coming along!

img_4949-1


Just have to drill the attachment holes on the bottom of the cowl and blend in the inlet ramps and the cowl will be complete.


Today’s Time (hours): 14.0
Finish kit (hours): 267.0
Total Time (hours): 1001.0

Started work on cowling

screen-shot-2020-06-06-at-7.25.04-am

Another busy week at work. Didn’t even have a chance to post last weekend’s build sesh. So here it is a week late.

Fabricated and installed the cowling hinges


Trimmed the top and bottom cowling with a cut-off wheel in the Dremel and some course sandpaper on a long sanding block. Cut out the landing gear hole and the oil door.


Clamped the cowl halves together and fit, trimmed and sanded the spinner and air inlet areas. This took several iterations to fit properly.


Had to do a couple of iterations of trimming the aft edge of the top cowling to get it to fit in place. Marked the rivet locations on the cowling and drilled them. Then match drilled those holes to the cowling hinges.


Several iterations of trimming and sanding the bottom cowling aft edge, then the top edges. Marked the rivet locations and drilled them. The match drilled to the cowl hinges.


Clamped the hinges that join the top and bottom cowling in place. Layed out the rivet line and match drilled the bottom cowling to the hinges. Located and cut out the notches in the top cowling for the tabs that secures the hinge pins.


Today’s Time (hours): 12.0
Finish kit (hours): 253.0
Total Time (hours): 987.0

Completed the prop and spinner

Went flying with Jared, Wes, and Scott. Got some nice pics of Wes’s RV-7A in fingertip formation on the way to KLZU for dinner Thursday evening.

img_4758


Jared came over on Friday and helped me hang the prop. Leveraged my specialization in brute force and stupidity to turn a one hour job into a five hour epic involving a three hour journey to and from Aircraft Spruce for a new prop wrench. All’s well that ends well.

img_4776


Safety-wired  the prop mounting bolts.

img_4780


Mounted and drilled the spinner, spinner plate and forward bulkhead. Used the neodymium magnets and plastic washers that came with the kit to locate the holes in the forward bulkhead.


Installed nutplates into the bulkhead and re-mounted it. Torqued and safety-wired the bolts.


Fabricated and installed the gap fillers. Clamped a couple of wooden boards to the prop blade as a lever to rotate the blades (change their pitch) in order to check the clearance of the spinner and gap filler. I used a sanding drum in an electric drill to make minor adjustments to the spinner and gap fillers. Then riveted the gap filler to the spinner plate.


Reinstalled the spinner.


Today’s Time (hours): 10.0
Finish kit (hours): 241.0
Total Time (hours): 975.0