Installed Canopy Decks and Panel Frame

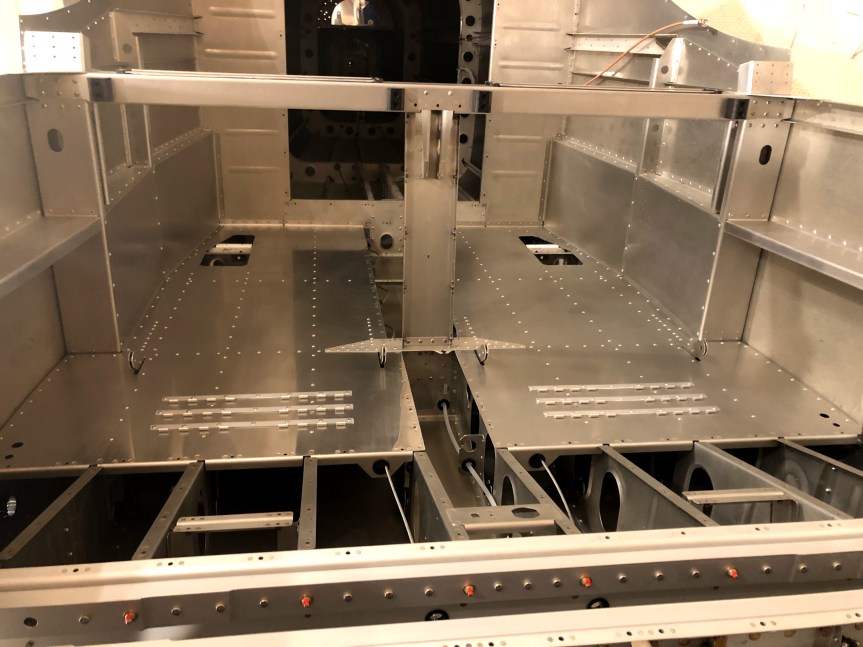
Laid a bead of tank sealant to fill the gap between the side skin, longeron, and canopy deck. Then I clecoed and riveted the canopy decks in place.


Riveted the wire supports to the bottoms of the panel standoffs.

img_3903


Clecoed the panel in place. I couldn’t rivet it because I ran out of K1000-06 nut plates. Ordered from Spruce.


Today’s Time (hours): 2.0
Fuselage Time (hours): 191.0
Total Time (hours): 645.5

Continued assembly and did a bit of painting

Clecoed then riveted the sub-panel assembly to the fuselage.


Riveted nut plates into the wiring channel. Painted the assembly and later installed it into the fuselage after the paint dried.


Match drilled the forward and aft canopy decks to the left and right longerons. Then dimpled the holes in the canopy decks and machine countersunk the holes in the longerons. Painted the canopy decks as well as the panel brackets and wiring supports.


Machine countersunk all the holes in the instrument panel frame. Riveted the instrument panel angles, nut plates, and flange doubler to the frame. Painted the assembly.


Ground one of the corners off of the fresh air vents to match up to the flange that connects it to the fuselage and naca duct.

img_3894


Today’s Time (hours): 5.0
Fuselage Time (hours): 189.0
Total Time (hours): 643.5

Primed everything and started assembling

Got all the forward fuselage parts primed.


Machine countersunk all the doublers. Riveted the stiffeners and doublers to the forward fuselage ribs.


Machine countersunk the doublers and riveted them to the canopy hinge ribs.

img_3874


Riveted nut plates to the pivot block channel and riveted that assembly to the forward fuselage channel.

img_3875


Riveted the map box doubler to the sub panel. Riveted the sub panel angle, canopy hinge ribs, forward fuselage channel to the sub panel. Riveted the forward fuselage rib assemblies to the sub panel. Riveted the instrument panel standoffs to the sub panel. Riveted the seal angles to the sub panel. Painted the aft side of the sub panel to match the interior.


Today’s Time (hours): 6.0
Fuselage Time (hours): 184.0
Total Time (hours): 638.5

Completed baggage area (Section 32)

Machine countersunk the baggage floor splice plate and riveted in place.

img_3785


dimpled the flap motor channel and installed the nut plates. Then riveted it in place. Riveted the flap motor brackets to it.


Riveted the baggage side walls in place.

img_3789


Bam! Baggage area. Done.

img_3790


Today’s Time (hours): 3.0
Fuselage Time (hours): 155.0
Total Time (hours): 609.5

Finished the Forward Mid Fuselage Side Structure (Section 29)

Match drilled the side gussets to the upper longerons and Machine countersunk the holes in the gusset.


Riveted the cross brace to the fuselage.

img_3717


Riveted the gussets and intercostals into place. Bolted on and torqued down the roll bar braces.


Trimmed and scuffed the NACA ducts for the fresh air vents. The instructions recommended waiting until section 35 to assemble and install.

img_3723


This was a really long section but the result is really rewarding…


Next up I attach the aft fuselage! Exciting next step.


Today’s Time (hours): 2.0
Fuselage Time (hours): 129.0
Total Time (hours): 583.5

Finished riveting left side

Riveted the web stiffeners to the main bulkhead webs.

img_3693


Riveted the nut plates to the root faring angles and lower skin. Then riveted the root faring angles to the left side skin


Bolted the left bulkhead bar back in placed and torqued it down.


Removed the right landing gear bracket in preparation for riveting the right side skin to the fuselage.

img_3705-1


In other exciting news, my engine arrived from Lycoming!

img_3704


Today’s Time (hours): 5.0
Fuselage Time (hours): 123.0
Total Time (hours): 577.5